
Day: July 5, 2025
-

5 Essential Git Tips for Managing Large Projects
When it comes to software development, project size can have a big impact on how you use your tools—and Git is no exception. As your codebase grows, it’s important to adapt your Git workflows to avoid performance issues and maintain clarity. Here are five practical tips to keep your large projects running smoothly in Git.…
-
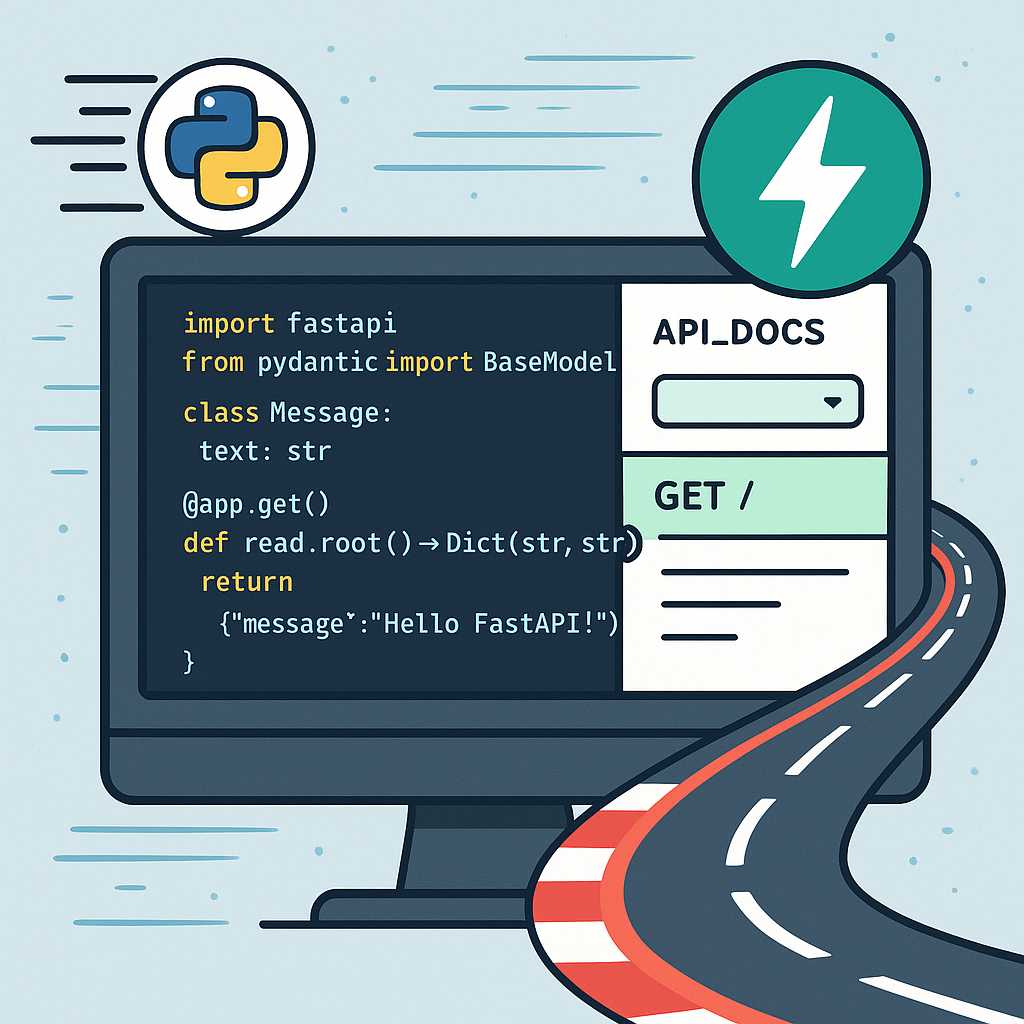
Getting Started with FastAPI: A Modern Python Web Framework
Python has a fantastic ecosystem for building web applications, but in recent years, one framework has rapidly gained popularity among Python developers: FastAPI. In this article, we’ll explore what FastAPI is, why you might choose it for your next project, and how to set up a basic web API in just a few lines of…
-

Demystifying Python Virtual Environments: Why and How to Use Them
As a Python developer, you’ve probably encountered that dreaded scenario: you’ve installed a package for one project, only to find it breaks another project on the same machine. This is where Python virtual environments come to the rescue! What is a Virtual Environment? A virtual environment is a self-contained directory that houses its own Python…
-

Git Reflog: Your Time Machine for Mistakes and Mishaps
Have you ever made a Git mistake that left you feeling like all is lost? Maybe you force-pushed the wrong branch, or perhaps you accidentally deleted some commits. If so, let me introduce you to one of Git’s hidden gems: the reflog. What is the Git Reflog? Reflog is short for reference log. It’s an…