
Day: July 6, 2025
-
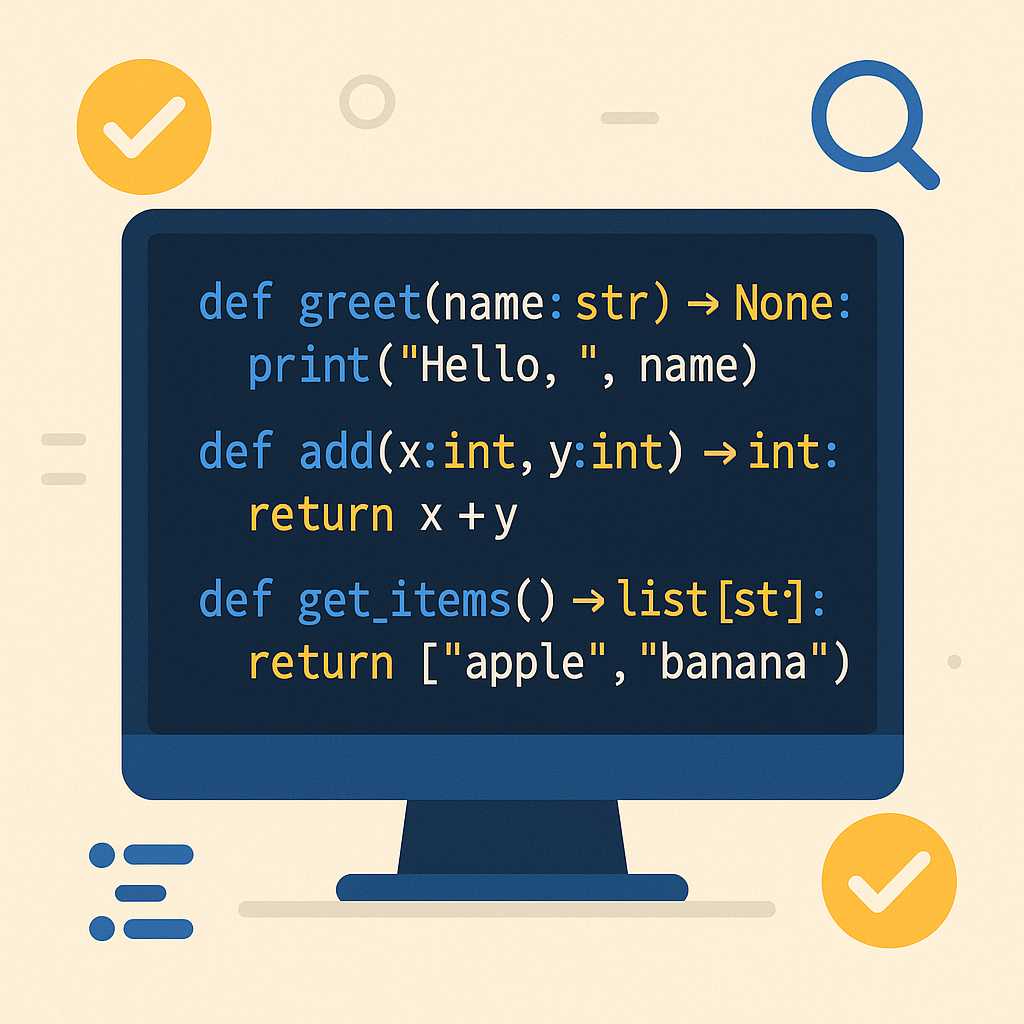
Introduction to Type Hinting in Python: Cleaner, More Reliable Code
Type hinting, introduced in Python 3.5, has evolved from a simple suggestion for code readability to an essential tool for writing robust Python programs. In this article, we’ll explore what type hinting is, why it matters, and how you can incorporate it into your projects to write cleaner and more reliable code. What is Type…
-
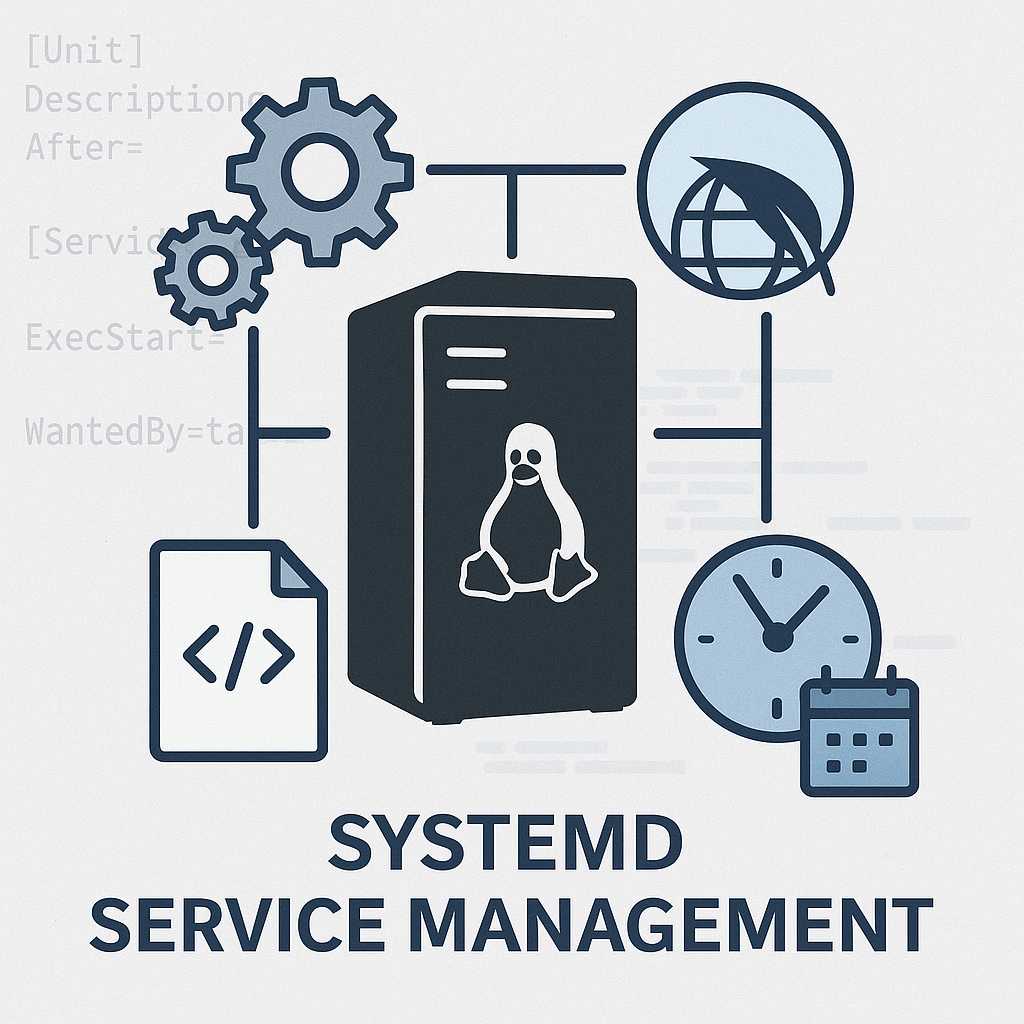
Managing Services, Scripts, and Timers with systemd on Linux
systemd is the standard system and service manager for most modern Linux distributions. It controls how services start, stop, and interact. Learning how to use systemd to manage services like Apache, custom scripts, and scheduled jobs (timers) can greatly improve the maintainability and reliability of your servers. Understanding systemd Units A unit is the basic…
-
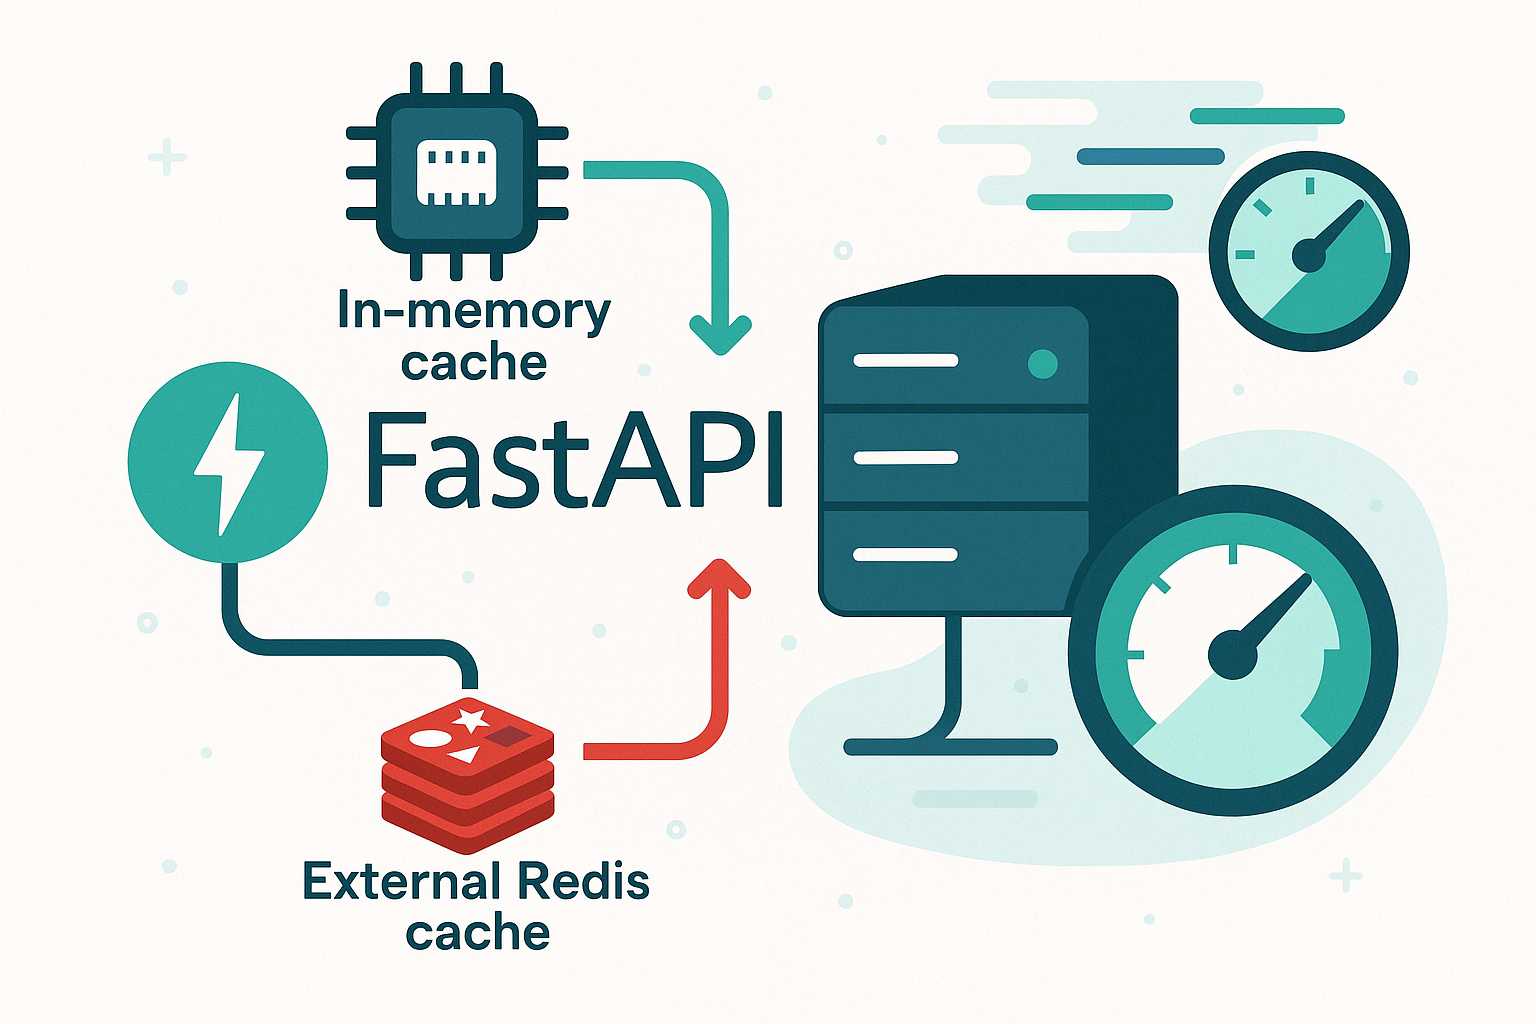
Enhancing FastAPI Performance with Caching Strategies
When building APIs with FastAPI, performance and responsiveness are paramount, especially as your application scales. One tried-and-tested way to boost speed and decrease database or computation load is by implementing caching. In this article, I’ll walk you through practical caching strategies for FastAPI applications, highlighting both in-memory and external solutions. Why Cache? Caching is all…
-

Automating Routine Tasks in Drupal with Scheduled Actions
If you’re a Drupal site builder or content manager, chances are you find yourself repeating certain administrative tasks—updating content statuses, sending notifications, or even clearing caches at regular intervals. While manual work gets the job done, automation can save hours over time. In this article, I’ll show you how to set up scheduled (cron-based) actions…