
Day: July 8, 2025
-
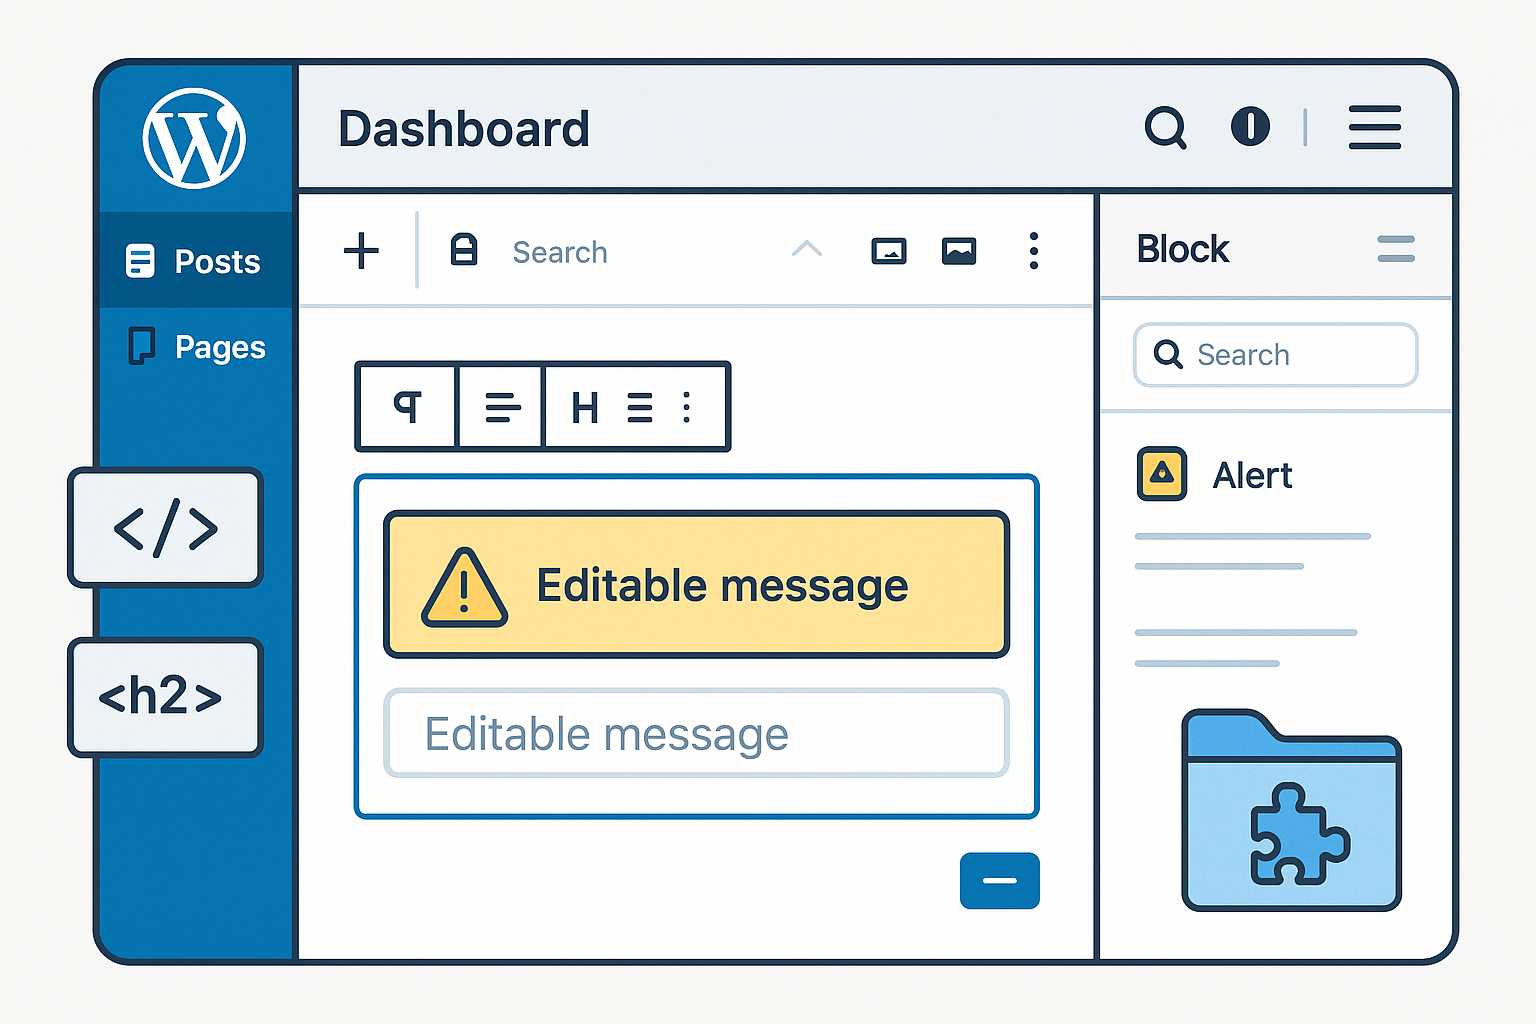
Building Custom Gutenberg Blocks: Elevate Your WordPress Editing Experience
Gutenberg, the block editor introduced to WordPress in version 5.0, fundamentally transformed how users create and manage content. While the default set of blocks covers most needs, there comes a point in every developer’s journey where custom blocks are essential for delivering unique functionality and on-brand designs. In this article, I’ll walk you through the…
-
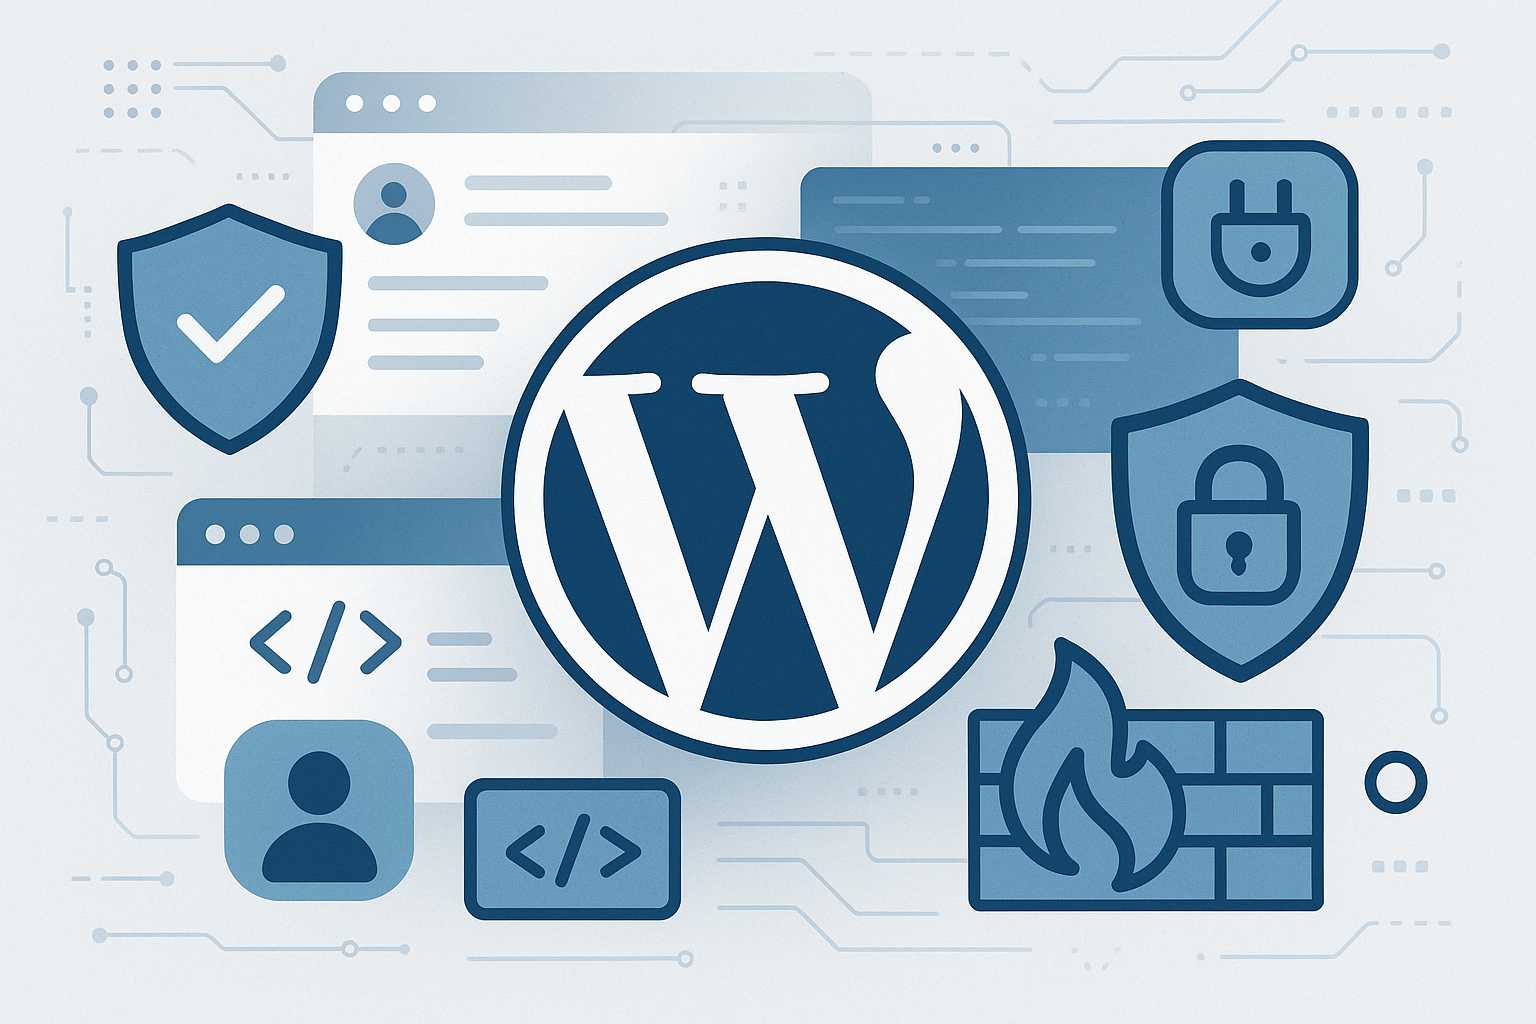
Securing Your WordPress Site: Essential Practices for Modern Sites
As a web developer who has seen countless WordPress installs over the past decade, I can tell you that site security remains one of the most crucial and yet sometimes overlooked aspects of WordPress management. Whether you’re building a personal blog, an e-commerce platform, or a network of sites, a proactive approach to security goes…
-
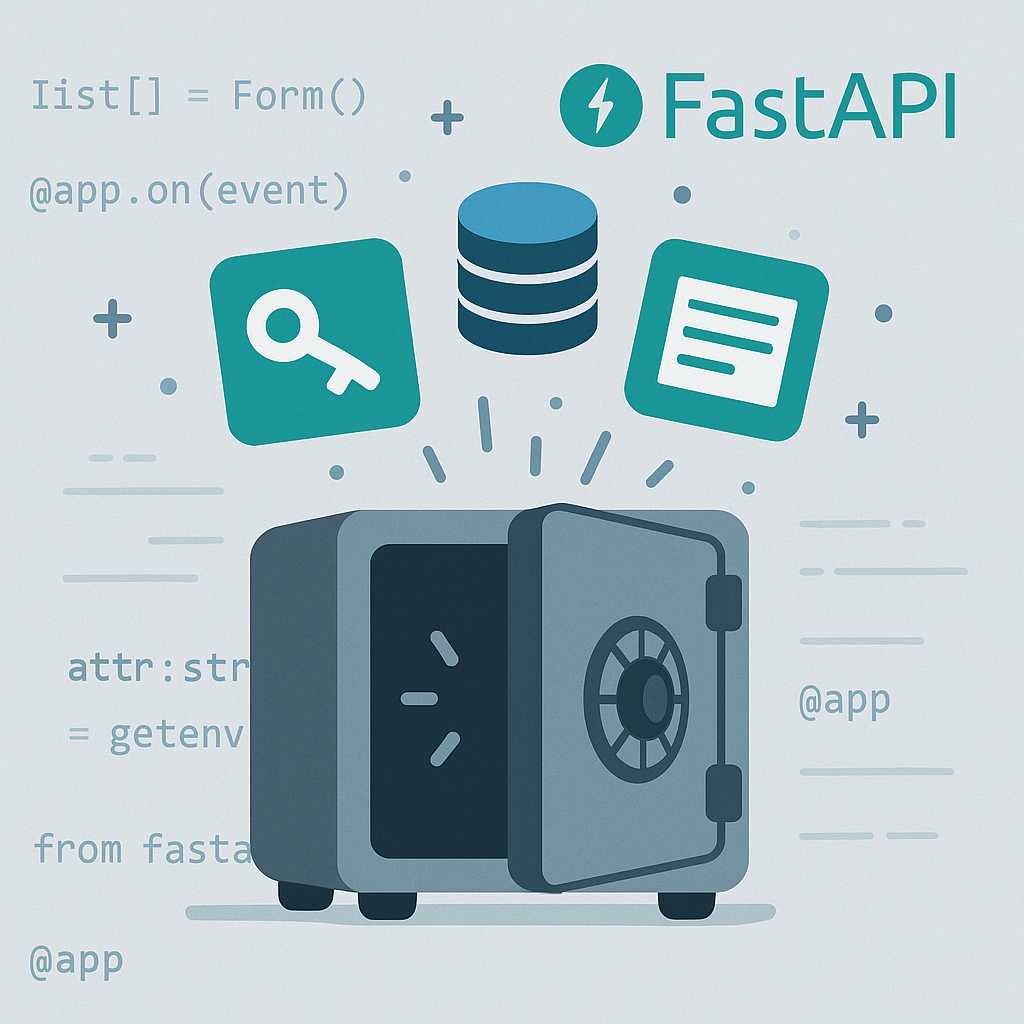
Managing Environment Variables in FastAPI Applications
As a backend developer, one of the foundational best practices is to keep sensitive information such as API keys, database credentials, and configuration settings out of your codebase. Instead, we use environment variables. In this article, I’ll walk you through practical techniques for managing environment variables effectively in your FastAPI projects. Why Use Environment Variables?…
-
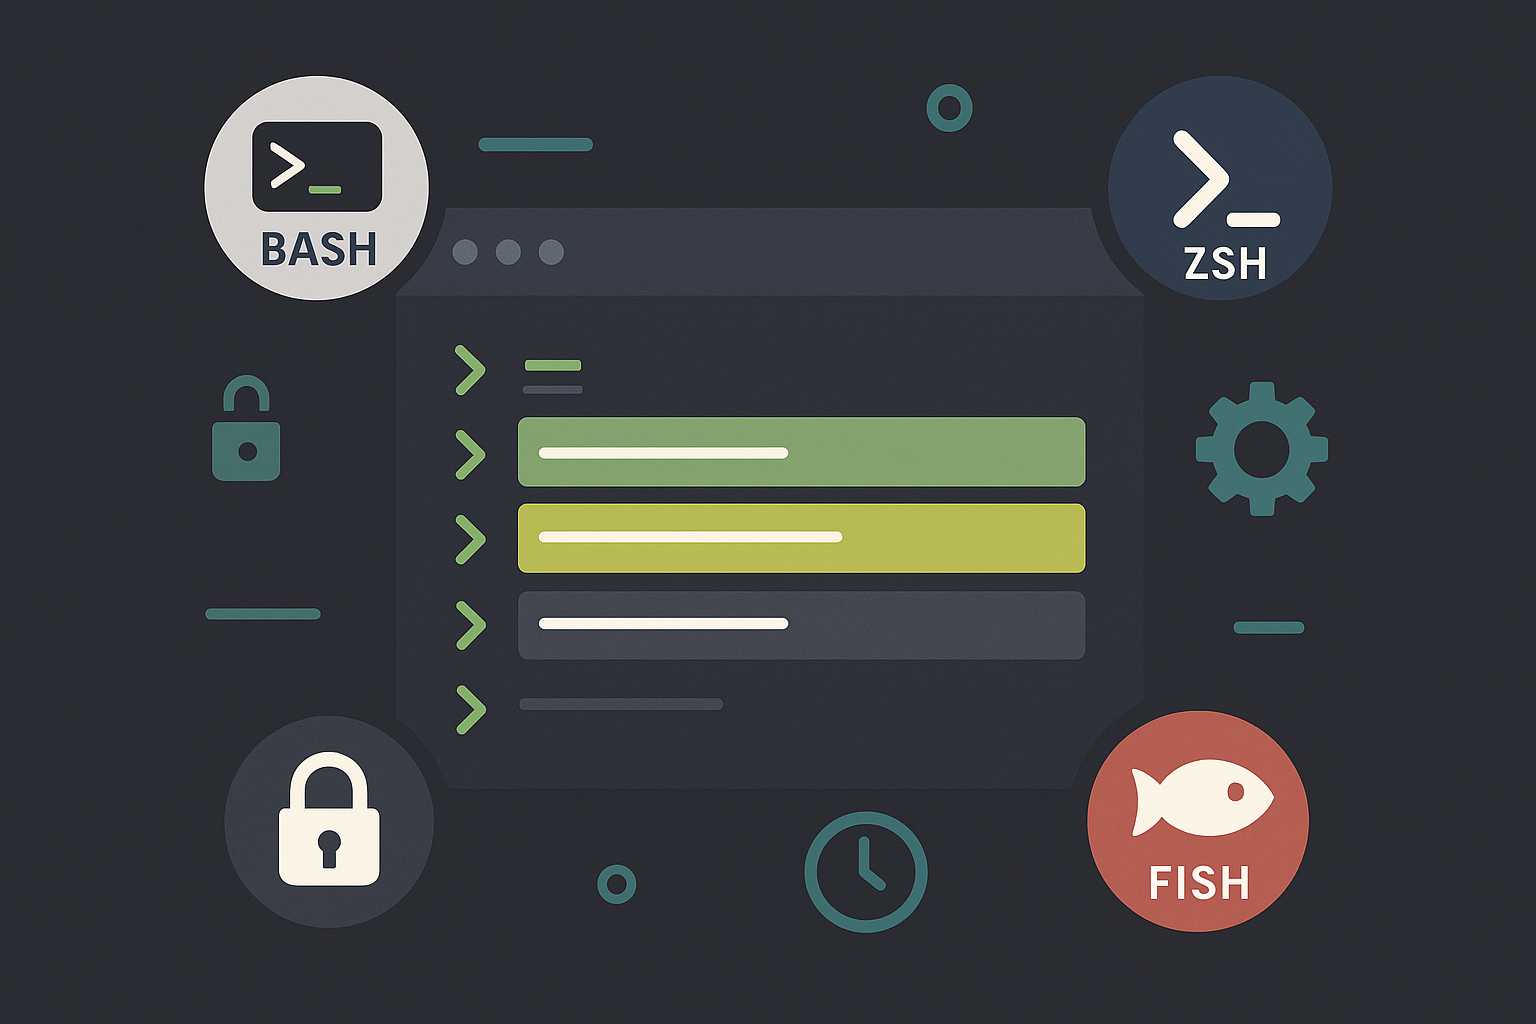
Managing Shell History in Unix: Bash and Beyond
On Linux servers, the command line is king—and as you work in a Unix environment, your command history becomes an invaluable asset. Yet, many sysadmins and developers aren’t aware of the subtle (and not-so-subtle) differences in how shells like Bash, Zsh, and others manage their history files. This article explores how history management works across…