
Gutenberg, the block editor introduced to WordPress in version 5.0, fundamentally transformed how users create and manage content. While the default set of blocks covers most needs, there comes a point in every developer’s journey where custom blocks are essential for delivering unique functionality and on-brand designs. In this article, I’ll walk you through the basics of building your own custom Gutenberg block and explain best practices to ensure maintainability and performance.
Why Create Custom Blocks?
Custom blocks empower you to:
- Tailor editing experiences to content creators
- Provide reusable design components
- Encourage brand consistency
- Extend functionality without shortcodes
Setting Up Your Plugin
To get started, you’ll want to create a new plugin. Begin by setting up your plugin directory (e.g., /wp-content/plugins/my-custom-blocks/) and placing a main PHP file inside:
<?php
/*
Plugin Name: My Custom Blocks
Description: Adds custom Gutenberg blocks.
Version: 1.0
Author: Presley
*/
Next, use register_block_type to register your block. You will need two main files:
block.js(for block definition and React code)style.css(for block styling)
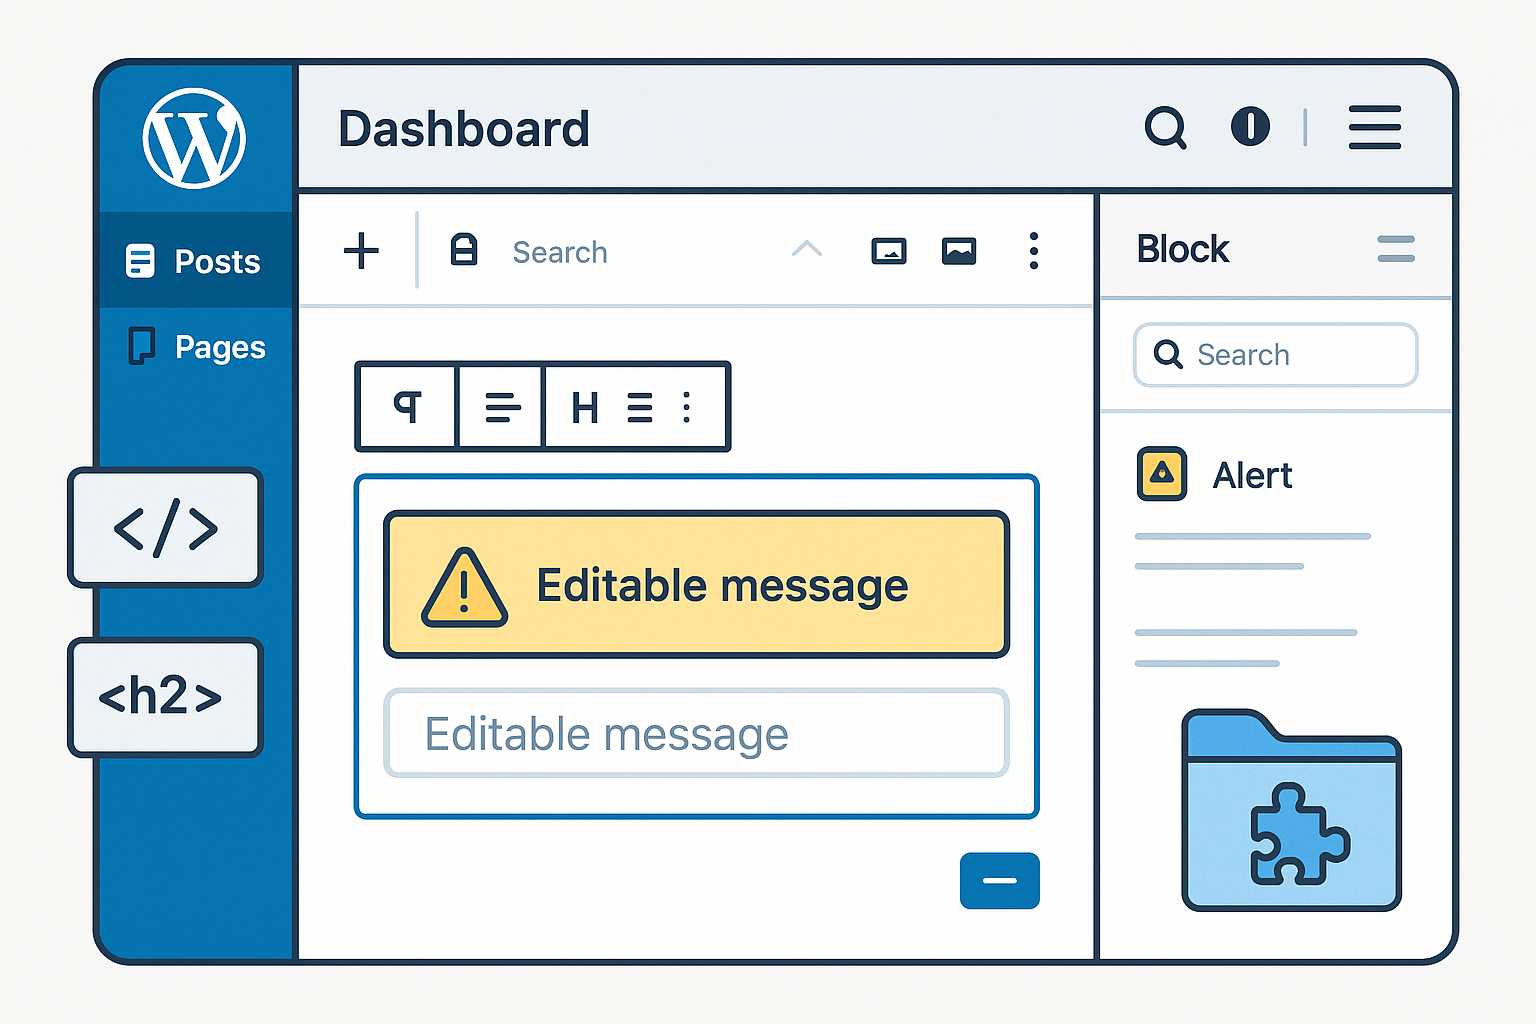
Example: A Simple Alert Box Block
- Enqueue Scripts in PHP:
function mcb_register_block() {
    wp_register_script(
        'mcb-alert-block',
        plugins_url('block.js', __FILE__),
        array('wp-blocks', 'wp-element', 'wp-editor')
    );
    wp_register_style(
        'mcb-style',
        plugins_url('style.css', __FILE__)
    );
    register_block_type('mcb/alert-box', array(
        'editor_script' => 'mcb-alert-block',
        'style' => 'mcb-style',
    ));
}
add_action('init', 'mcb_register_block');
- Block JavaScript (block.js):
const { registerBlockType } = wp.blocks;
const { RichText } = wp.blockEditor;

registerBlockType('mcb/alert-box', {
    title: 'Alert Box',
    icon: 'warning',
    category: 'widgets',
    attributes: {
        message: { type: 'string', source: 'html', selector: 'div' }
    },
    edit({ attributes, setAttributes }) {
        return (
            <RichText
                tagName="div"
                className="mcb-alert-box"
                value={attributes.message}
                onChange={(message) => setAttributes({ message })}
                placeholder="Type your message..."
            />
        );
    },
    save({ attributes }) {
        return <div className="mcb-alert-box">{attributes.message}</div>;
    }
});
- Styling (style.css):
.mcb-alert-box {
  background: #fff3cd;
  border: 1px solid #ffeeba;
  padding: 16px;
  border-radius: 4px;
  color: #856404;
}
Best Practices for Custom Blocks
- Namespace your block names and CSS classes to avoid conflicts.
- Follow WordPress coding standards in PHP and JavaScript.
- Document your code for the benefit of other developers.
- Test across different themes and environments to ensure compatibility.
- Consider localization/internationalization via wp.i18n functions.
Final Thoughts
Custom Gutenberg blocks are a powerful way to enhance the WordPress editing experience for developers, designers, and content creators alike. Once you have the basics down, experiment with Inspector Controls, custom attributes, and server-side rendering to create sophisticated, flexible blocks.
Have you built any unique blocks? Share your experiences and questions in the comments below!
— Presley
Leave a Reply