
Day: July 9, 2025
-
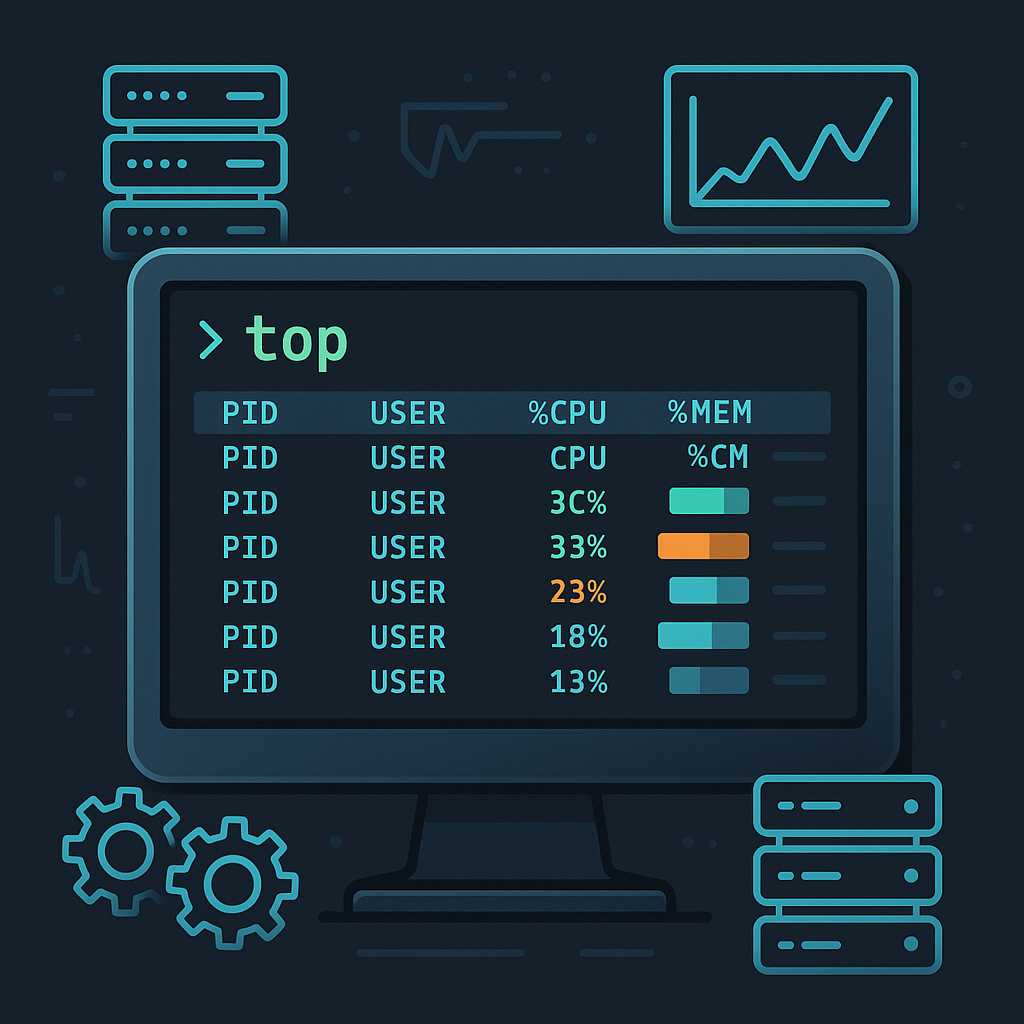
Mastering the ‘top’ Command: Tips for Efficient Linux Server Monitoring
When it comes to monitoring the health and performance of your Linux servers, the "top" command is often one of the first tools in an administrator’s arsenal. It provides a real-time, dynamic view of what’s happening on your system, including which processes are consuming the most resources and overall system load. Yet, many users only…
-
Securing Apache Web Server: Essential Command-Line Techniques
When it comes to hosting web sites on Linux servers, security is always a top priority. While Apache is a robust and reliable web server, its security out-of-the-box typically needs enhancement to withstand modern threats. In this article, I’ll walk you through essential command-line techniques to secure your Apache installation and reduce potential attack surfaces,…
-
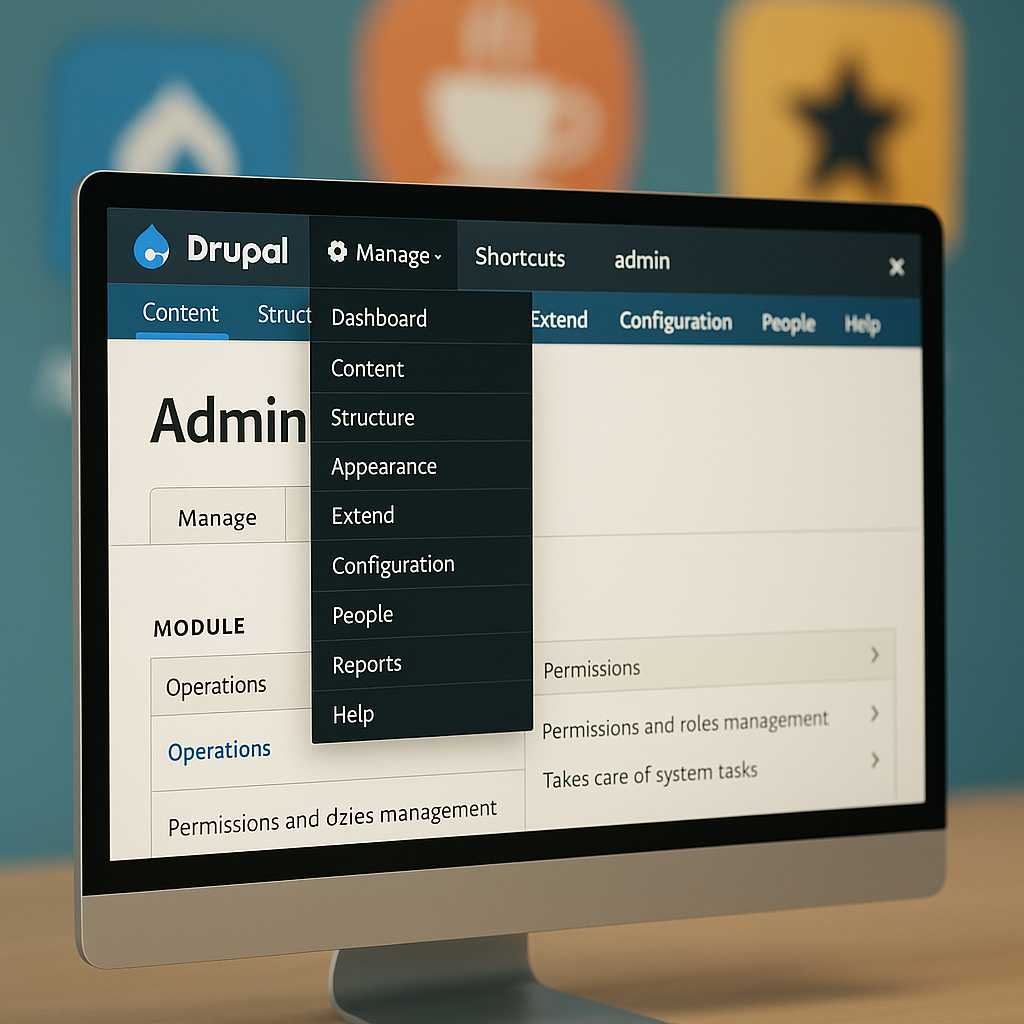
Customizing the Drupal Admin UI with Admin Toolbar and Beyond
As a Drupal developer, one of my favorite tricks to improve both my workflow and my clients’ satisfaction is refining the Drupal admin interface. While Drupal’s default admin backend is powerful, it can be overwhelming—or a bit inefficient—out of the box. Today, I’ll walk you through practical enhancements you can make to the admin UI,…
-

Getting Started with Material Design in Angular: Styling Your First Component
As a web designer, I’m always on the lookout for ways to create visually appealing and user-friendly interfaces. Material Design, developed by Google, provides a cohesive design language and a vast set of UI components, making it a popular choice for Angular developers. In this article, I’ll guide you through the basics of implementing Material…