
Day: July 13, 2025
-
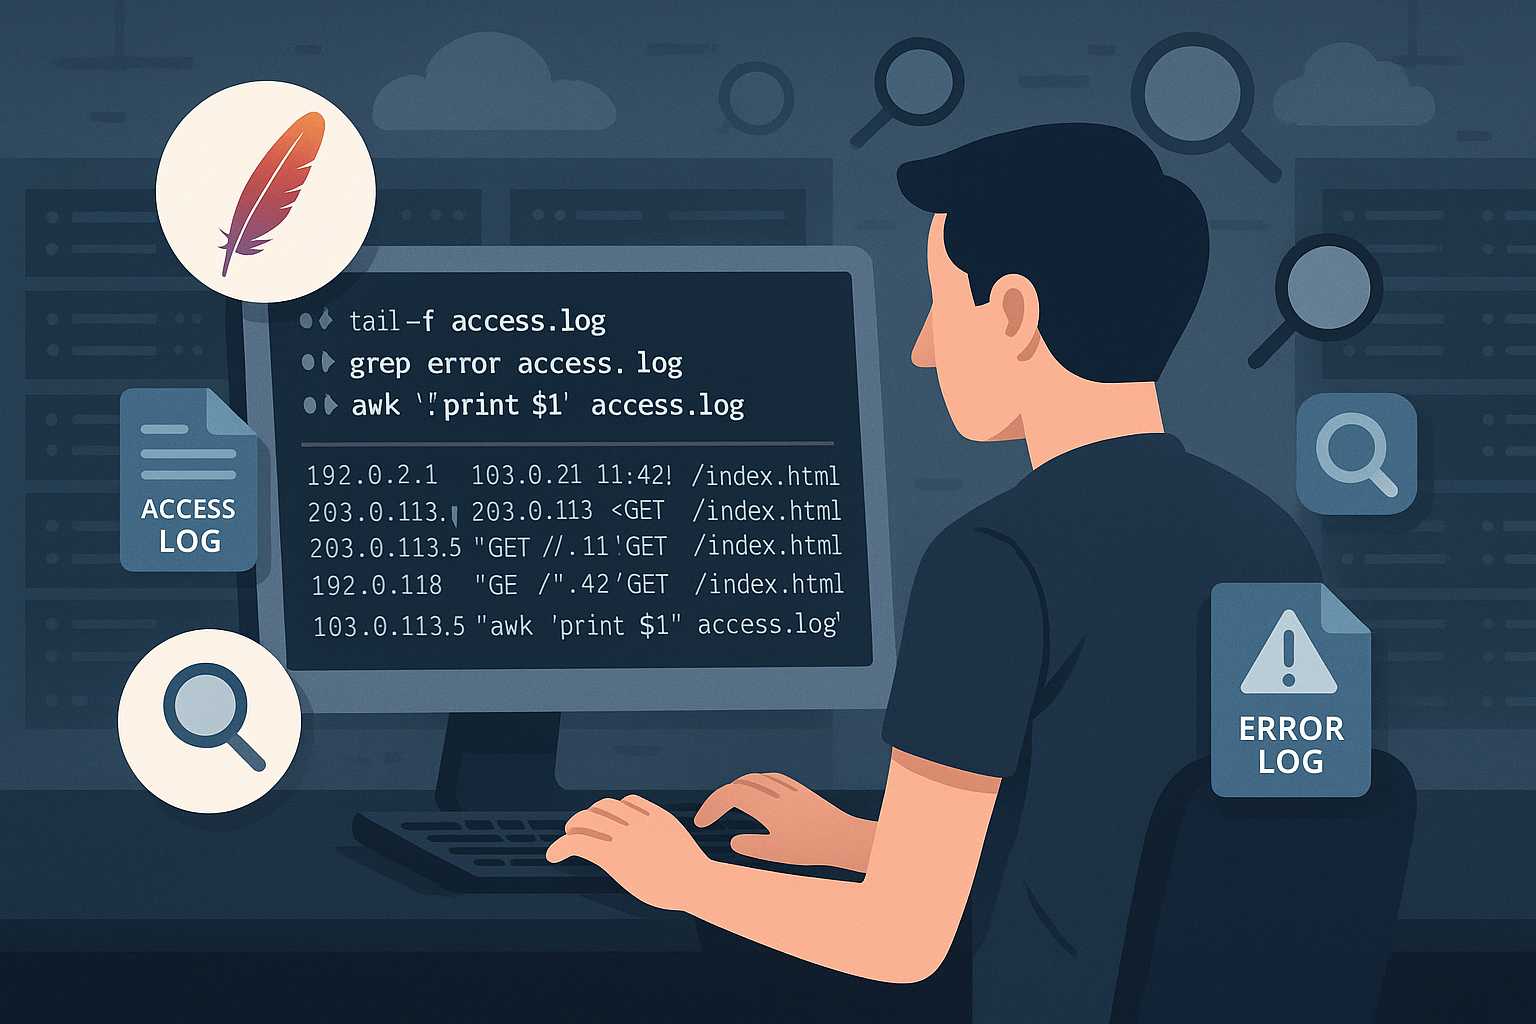
Efficient Log Analysis on Apache Web Servers Using the Command Line
As a Linux server administrator, keeping track of your Apache Web Server’s activity and performance is essential. Apache’s robust logging facilities (access and error logs) can hold crucial information about visitor traffic, possible attacks, and performance bottlenecks. But those log files can grow massive — so reading them efficiently from the command line is a…
-
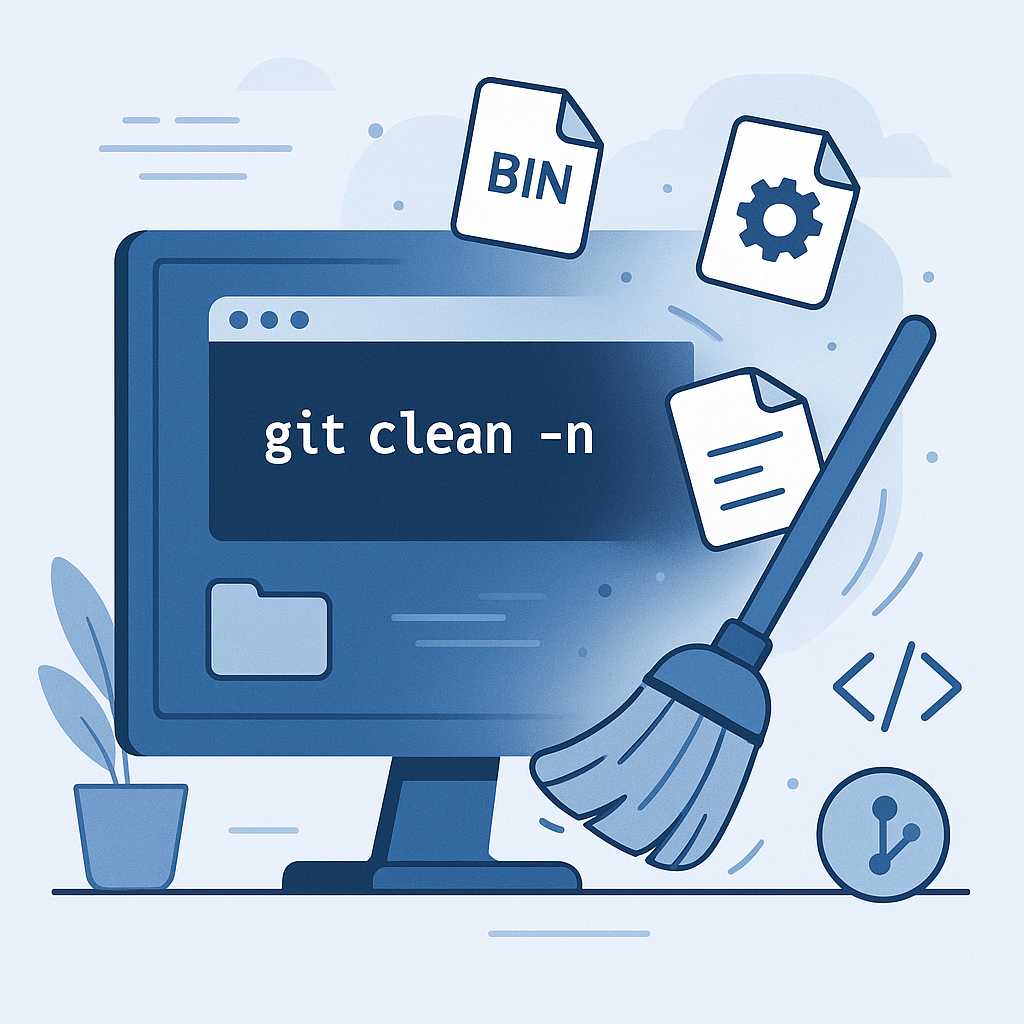
Demystifying Git Clean: Safely Tidying Up Your Working Directory
When working on complex projects, it’s easy for your Git working directory to accumulate a lot of unnecessary files—build artifacts, temporary logs, and experiment leftovers. If you’ve ever wondered how to quickly clean things up without accidentally losing important work, Git’s git clean command is here to help. In this article, I’ll walk you through…
-

Advanced Angular Routing: Lazy Loading with Route Guards and Resolvers
Angular’s powerful router makes building single page applications seamless, but once your application grows, optimizing routes becomes vital for performance and maintainability. In this article, we’ll delve into intermediate and advanced Angular routing concepts: lazy loading modules, using route guards to protect routes, and leveraging resolvers to fetch data before navigation. Why Lazy Loading? As…
-
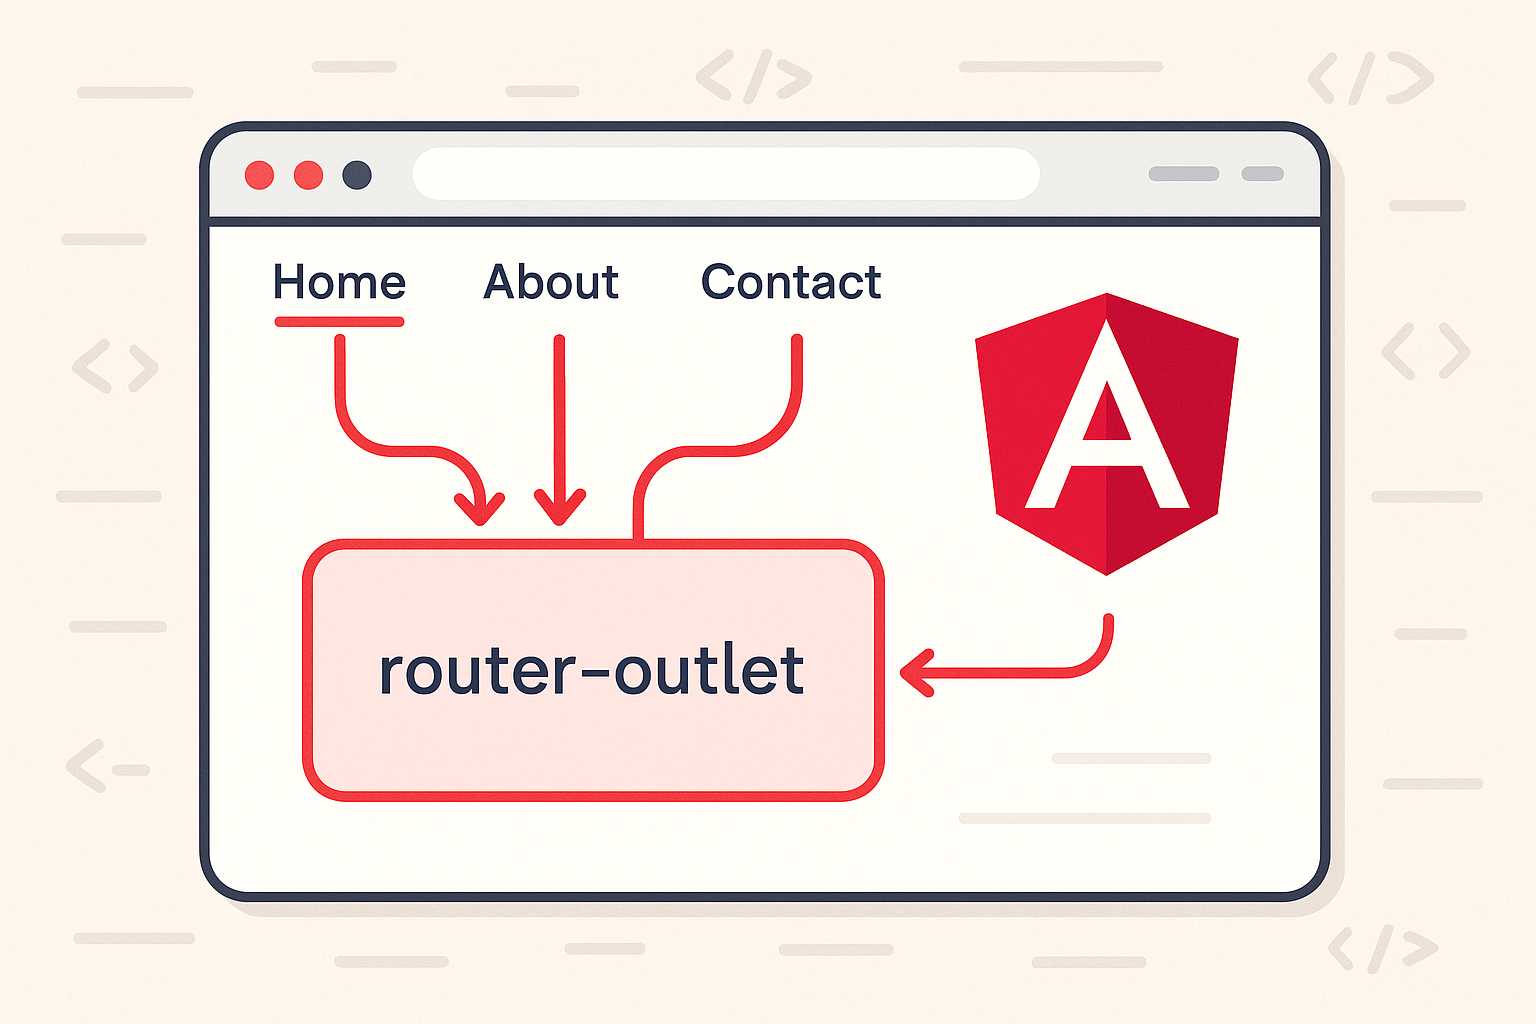
Beginner’s Guide to Angular Routing
Routing is a fundamental part of building single-page applications (SPAs) with Angular. It lets you navigate between different views or components, enabling a smooth and dynamic user experience. This guide will walk you through the basics of Angular routing so you can get started adding navigation to your Angular apps! What is Routing in Angular?…