
Routing is a fundamental part of building single-page applications (SPAs) with Angular. It lets you navigate between different views or components, enabling a smooth and dynamic user experience. This guide will walk you through the basics of Angular routing so you can get started adding navigation to your Angular apps!
What is Routing in Angular?
Angular routing allows you to display different components or views based on the URL in the browser, without reloading the entire page. Each route maps a URL path to a component.
Setting Up Routing
-
Create a New Angular App (if needed):
ng new my-routing-app cd my-routing-app -
Generate Components:
ng generate component home ng generate component about ng generate component contact -
Configure the Router:
Openapp-routing.module.ts(or create it viang generate module app-routing --flat --module=appif it doesn’t exist) and define your routes:import { NgModule } from '@angular/core'; import { RouterModule, Routes } from '@angular/router'; import { HomeComponent } from './home/home.component'; import { AboutComponent } from './about/about.component'; import { ContactComponent } from './contact/contact.component'; const routes: Routes = [ { path: '', component: HomeComponent }, { path: 'about', component: AboutComponent }, { path: 'contact', component: ContactComponent }, ]; @NgModule({ imports: [RouterModule.forRoot(routes)], exports: [RouterModule] }) export class AppRoutingModule {} -
Enable Router in Your App:
Inapp.module.ts, import theAppRoutingModule.import { AppRoutingModule } from './app-routing.module'; // Add AppRoutingModule to the imports array -
Add Router Outlet:
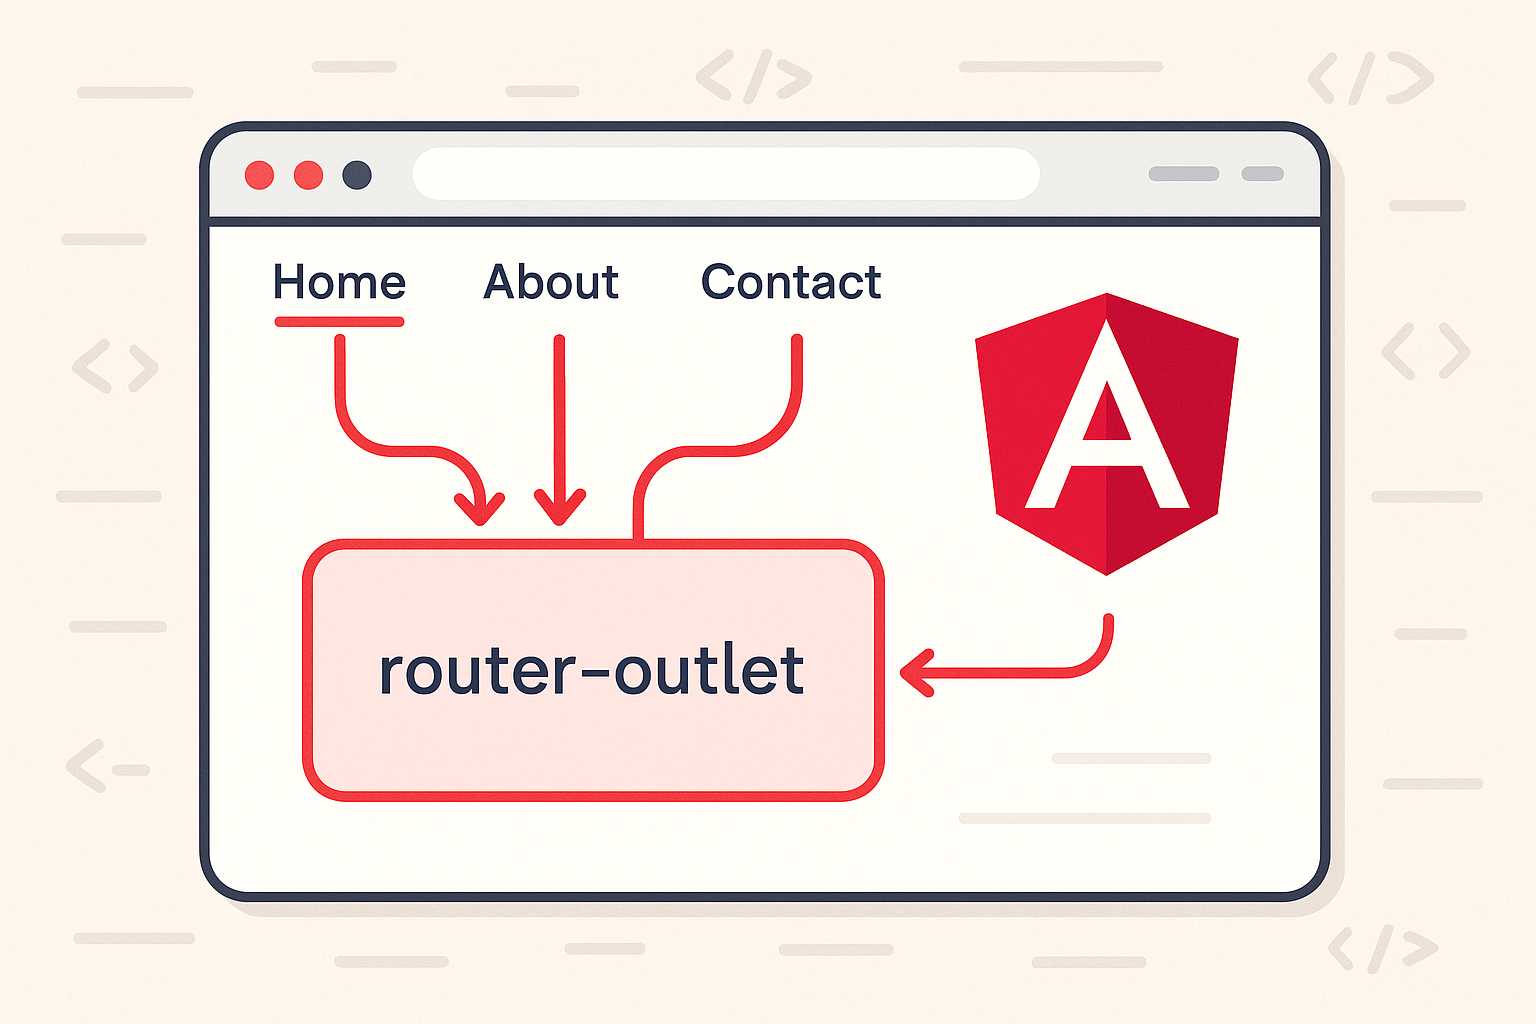
Inapp.component.html(or your root component), add:<nav> <a routerLink="">Home</a> | <a routerLink="/about">About</a> | <a routerLink="/contact">Contact</a> </nav> <router-outlet></router-outlet>The
<router-outlet>directive is where Angular displays the routed component.
Try It Out!
Run your app with ng serve, and click the navigation links to see different components render without a full page reload.
More Routing Features
- Route Parameters: For dynamic routes (e.g., user profiles) use
:idin paths. - Wildcard Routes:
{ path: '**', component: NotFoundComponent }for 404 pages. - Route Guards: Control access to certain routes.
Conclusion
Angular routing is powerful but easy to get started with. Defining routes, linking to them, and displaying components based on the URL are at the core of building any Angular SPA. Experiment with different features as you get more comfortable!
Happy coding!
Leave a Reply