
Day: July 15, 2025
-
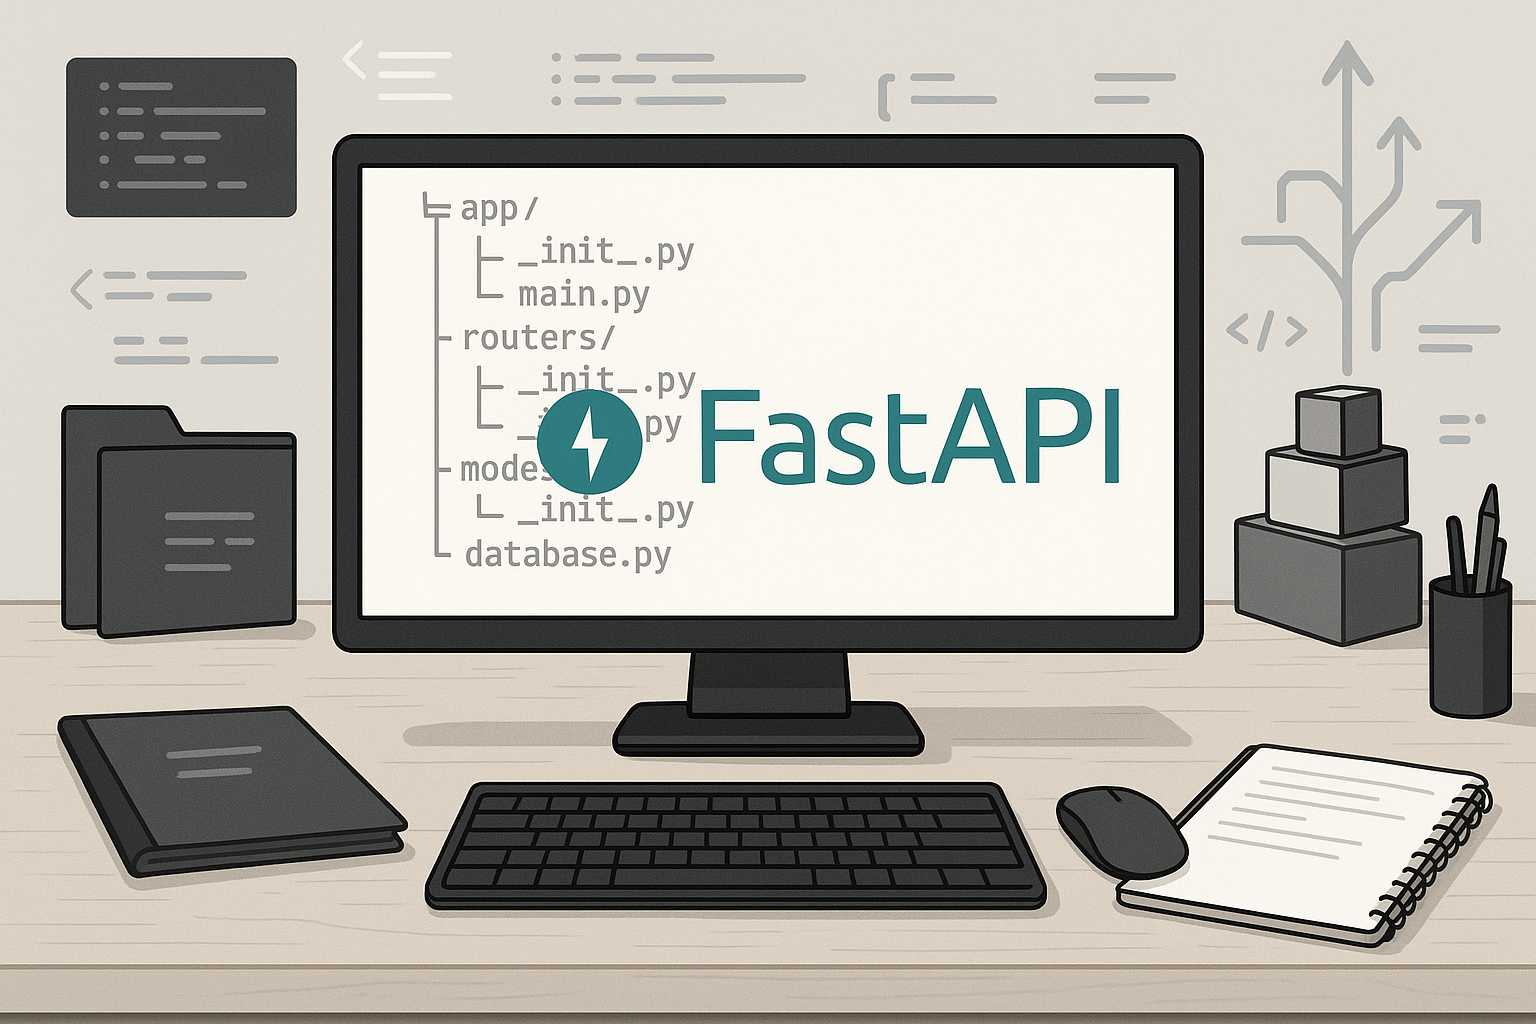
Structuring FastAPI Projects for Maintainability and Scalability
Hi, I’m Fast Eddy! As a backend web developer who spends most of my time with FastAPI, I’ve learned that maintainable, scalable project structure is the foundation of any robust API. Let’s break down how you can structure your FastAPI projects so they remain clear, scalable, and ready for growth—whether you’re working solo or leading…
-
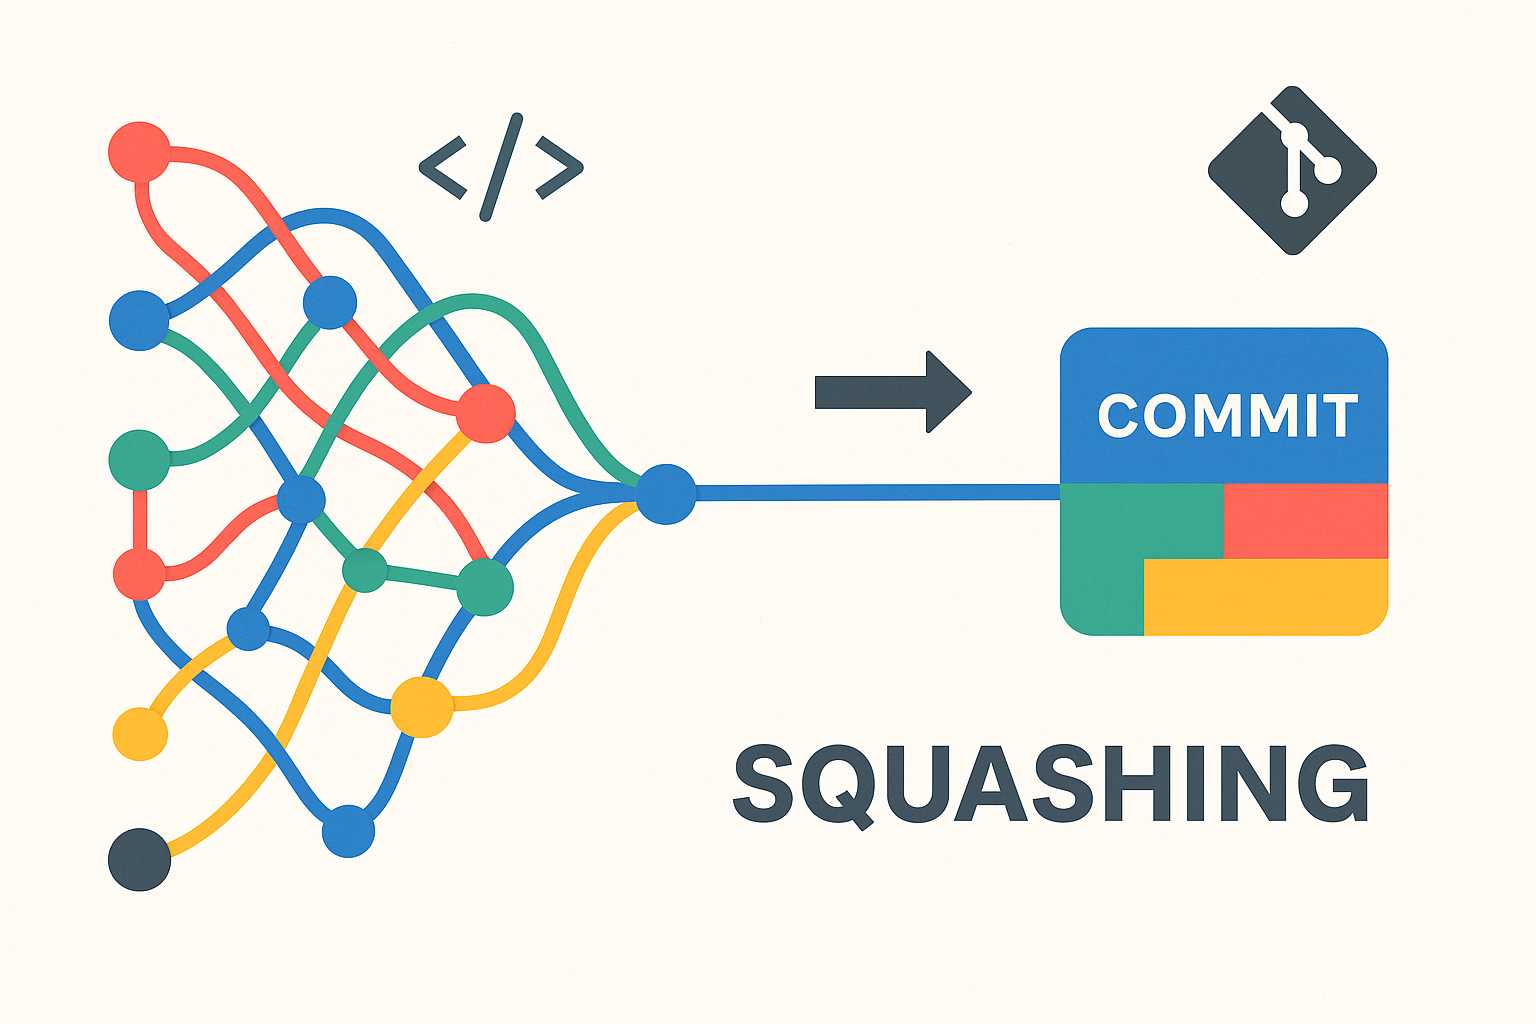
Squashing Commits in Git: Cleaning Up Your Project History
If you’ve ever ended up with a heap of noisy, work-in-progress (WIP) commits after a coding sprint, you know how messy a project’s commit history can get. Maintaining a clean, readable Git log is critical—especially for collaborative work and open source contributions. Today, I want to walk you through the powerful Git technique of "squashing…