
If you’re looking to extend your Drupal site’s functionality, one of the best ways is by creating custom content types. Content types let you define structured data and custom fields for unique kinds of content, like "Events," "Products," or "Testimonials." In this guide, I’ll walk you through the process, share some tips, and highlight best practices for managing content types efficiently.
Why Use Custom Content Types?
Default Drupal installs ship with basic types like Article and Page, but your project likely has specific needs. Custom content types:
- Allow tailored field structures (text, images, references, dates, etc.)
- Enable better editorial workflows
- Support unique display requirements through view modes and templates
Step 1: Plan Your Data Structure
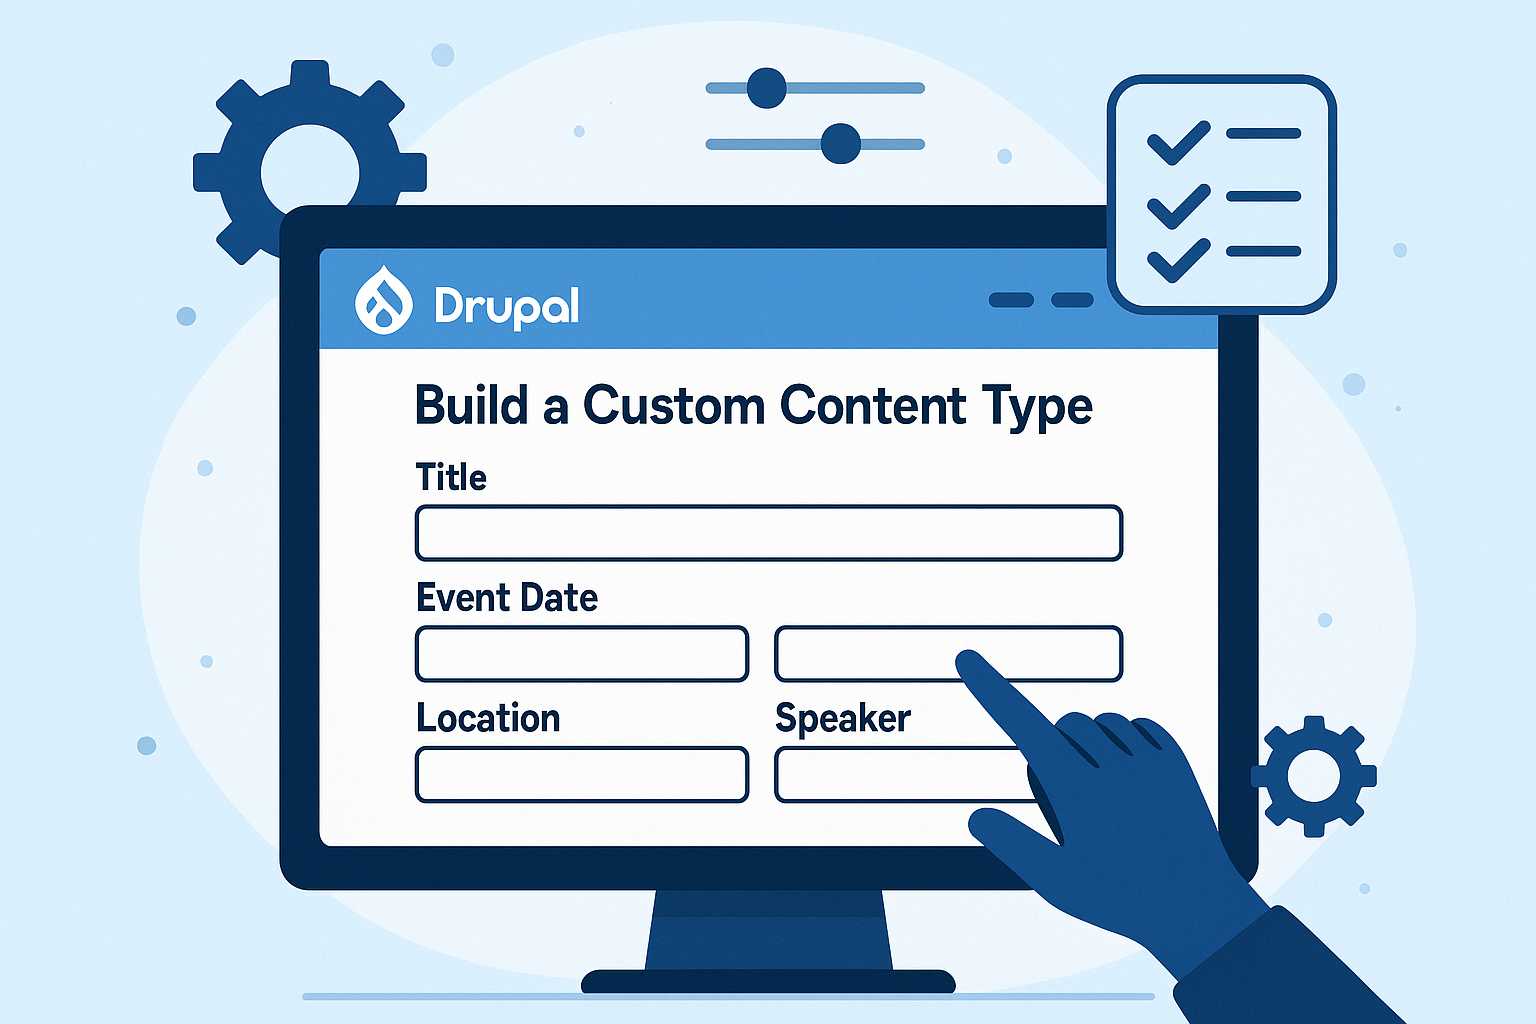
Before diving into the admin UI, consider what information your content type needs. For example, an "Event" might require:
- Title
- Event Date
- Location
- Description
- Speaker (entity reference)
Sketching this out upfront saves refactoring effort later.
Step 2: Add a New Content Type
- Go to Structure → Content types → Add content type.
- Name your type (e.g., "Event") and add a description for editors.
- Tweak settings such as preview options, publishing defaults, menu integration, etc.
Step 3: Configure Fields
- After saving, add fields to your new type—these can be text fields, image uploads, references to other entities, etc.
- Choose appropriate widgets for each field (e.g., date picker for dates, autocomplete for references).
- Set default values and field-level permissions as needed.
Pro tip: Use field groups or tabs (with contributed modules) for better backend usability, especially for complex types.
Step 4: Adjust Display Settings
Head to the Manage display tab to customize how fields appear to site visitors (and editors, using the "Manage form display" tab). You can rearrange field order, set label positions, or use view modes for alternate layouts.
Step 5: (Optional) Export as Configuration
If you’re working in a team or deploying across environments, always export your newly created content type and its fields using Drupal’s configuration management system (Config Export via Drush or the admin UI). This ensures consistency and easy versioning.
Best Practices
- Don’t overload types: Avoid adding too many optional fields; consider splitting overly complex types.
- Naming conventions: Use clear, consistent machine names.
- Reusability: If fields apply to multiple content types (like "Image" or "Summary"), create Reusable fields instead of duplicates.
Custom content types are a foundational Drupal feature, empowering you to build robust, structured sites tailored to your project’s needs. For more advanced structuring, check out my earlier article on Drupal Paragraphs.
Happy Drupaling!
— Drew
Leave a Reply