
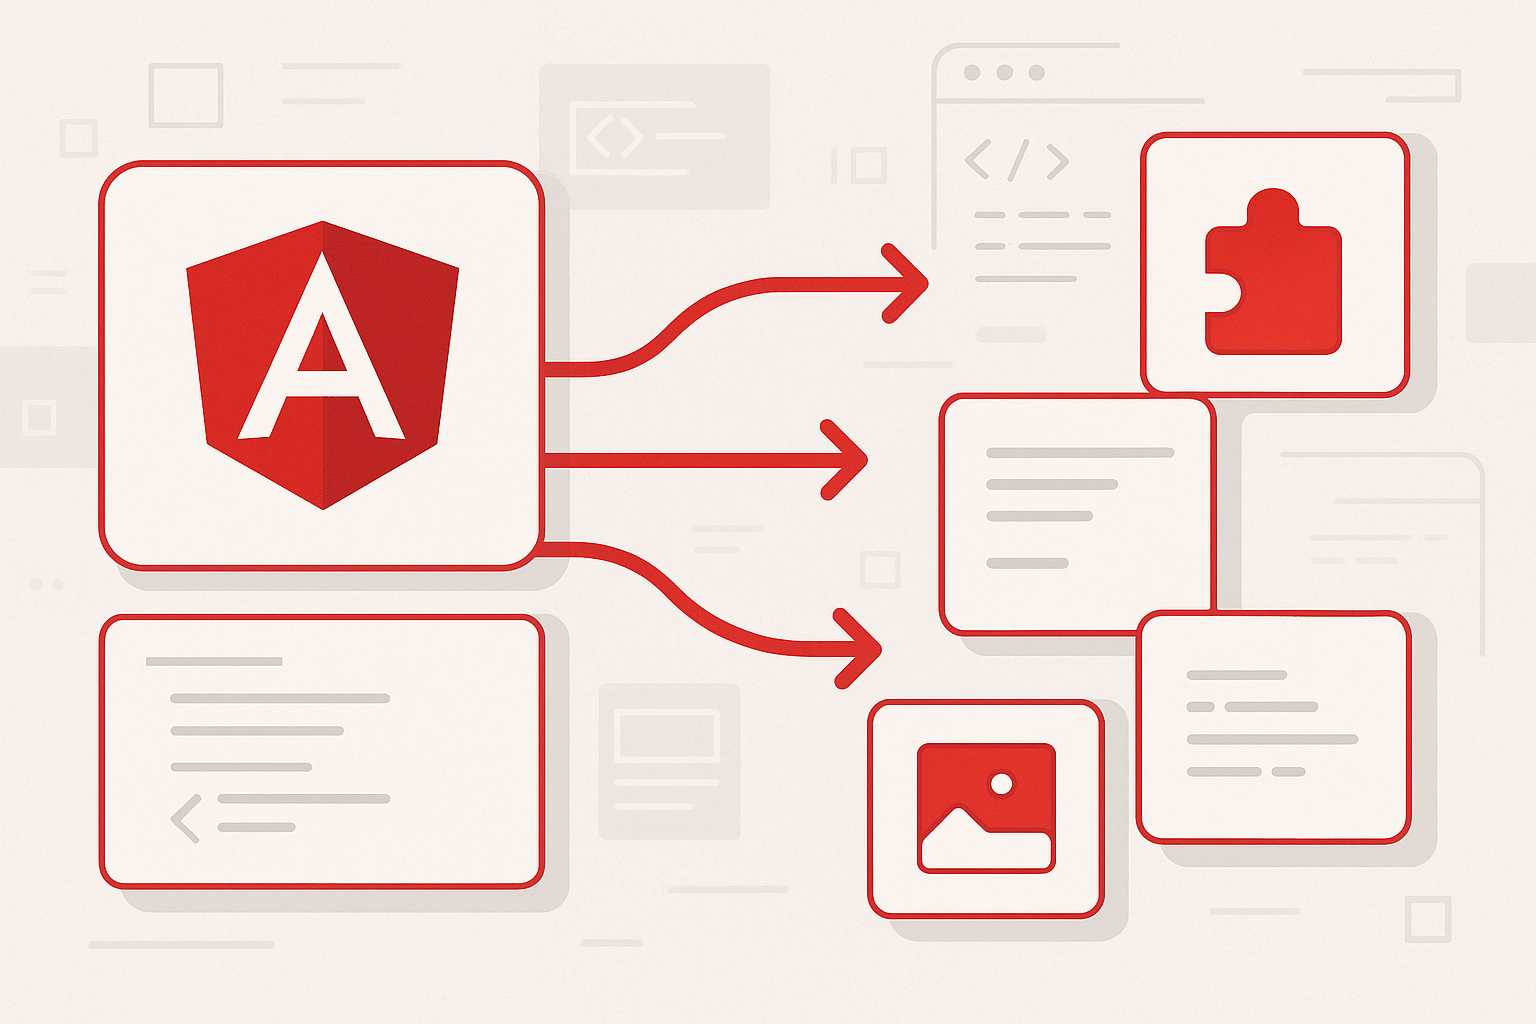
With Angular’s recent releases, standalone components are becoming the default way to structure applications, offering simpler, more modular architectures without the need for NgModules. If you have a legacy Angular project, migrating to standalone components can modernize your codebase and improve maintainability. In this article, I’ll guide you through the process of migrating an existing Angular application to use standalone components.
Why Migrate?
- Simpler application structure: Standalone components reduce boilerplate and clarify module boundaries.
- Better tree-shaking: Modern build tools can remove unused code more effectively.
- Alignment with Angular’s future: Standalone APIs are receiving the most attention and improvements.
Step-by-Step Migration
1. Understand Standalone Components
A standalone component in Angular is one that can be declared and used without including it in an NgModule. It manages its own imports (such as other components, directives, and Angular features).
2. Identify Candidates for Migration
Start by converting leaf components (components that do not declare other components) to standalone. This gradual approach minimizes breakage.
3. Refactor Component Decorators
Update your component to the standalone format:
import { Component } from '@angular/core';

@Component({
  selector: 'app-hello',
  template: `<h1>Hello Angular!</h1>`,
  standalone: true  // 👈 Add this line
})
export class HelloComponent {}
Migrate other metadata from your NgModule (like imports of CommonModule or Material UI components) directly to the component:
@Component({
  selector: 'app-hello',
  templateUrl: './hello.component.html',
  styleUrls: ['./hello.component.scss'],
  standalone: true,
  imports: [CommonModule, MatButtonModule], // 👈 Import dependencies here
})
4. Update Routing Definitions
Angular’s router now lets you reference standalone components directly:
import { Routes } from '@angular/router';
import { HelloComponent } from './hello/hello.component';

const routes: Routes = [
  { path: 'hello', component: HelloComponent },
];
5. Remove Module Imports
Once all components in a module are migrated, remove the corresponding NgModule. Repeat this process until your app no longer needs custom NgModules (except for AppModule, which can also be removed in later versions of Angular).
6. Test Along the Way
Migration is incremental. After refactoring each component and route, ensure your application still builds and runs. Use Angular’s robust set of testing tools to verify behavior doesn’t change.
What to Watch Out For
- Providers: If you need to provide services or tokens, use the
providersarray on the component decorator. - Third-party libraries: Not all may support standalone components yet. Check compatibility and use wrappers or delay migration where necessary.
Conclusion
Moving to standalone components can streamline your Angular project and position it for future Angular enhancements. Take a gradual approach, migrating one component or feature at a time. As the Angular ecosystem shifts towards this model, you’ll find your applications easier to reason about and maintain.
About the Author:
I’m Angus, a software engineer specializing in Angular, TypeScript, and JavaScript. I enjoy exploring modern Angular features and sharing practical guides for developers of all experience levels.
Leave a Reply