
Author: Fast Eddy
-

Understanding FastAPI’s Lifespan Events: Proper Initialization and Shutdown
When building robust APIs with FastAPI, it’s crucial to handle application startup and shutdown events cleanly. Whether you’re setting up a database connection, initializing background tasks, or gracefully releasing resources, FastAPI provides the lifespan interface for managing these key moments. Let’s walk through how to use lifespan events effectively, clear up some common pitfalls, and…
-
Safely Sharing FastAPI Dependencies Across Multiple Routers
FastAPI’s dependency injection system is powerful, but as your application grows and you modularize your code, it’s common to split your API into multiple routers. A question I often get is: "How can I safely share dependencies (like authentication or database access) across routers without duplicating code or causing unexpected side effects?" Let’s walk through…
-
Making FastAPI Dependencies Optional: Flexible API Design Tips
FastAPI’s dependency injection system is one of its defining features, letting you elegantly manage request-scoped values, authentication, data access, and more. In many cases, dependencies are required, but sometimes you want to make them optional. Maybe your endpoint has different behavior depending on whether the client is authenticated, or perhaps you want to provide a…
-
Speed Up Your FastAPI Endpoints with Dependency Caching
When building APIs with FastAPI, you’ll often use dependencies to handle authentication, database sessions, configuration, and more. But did you know that FastAPI can smartly cache these dependencies within a single request, potentially saving you time and resources? In this article, I’ll show you how to leverage dependency caching for better performance and cleaner code.…
-
Asynchronous Database Queries in FastAPI: Getting it Right
As your FastAPI applications grow in complexity, leveraging asynchronous programming becomes essential—especially when dealing with I/O-bound operations like database queries. Yet, many developers stumble into pitfalls when trying to "go async" in their data layer. In this article, I’ll explain how to run database queries asynchronously in FastAPI, walk through best practices, and show how…
-
FastAPI Dependency Injection: Beyond The Basics
Dependency injection is one of FastAPI’s most powerful features, enabling clean, modular, and testable code. But beyond simple function-based dependencies, FastAPI offers several advanced patterns that can make your applications even more flexible. In this article, we’ll explore some lesser-known techniques you can use to level up your FastAPI dependency management. Recap: What is Dependency…
-

Mastering FastAPI’s Response Models: Validation, Serialization, and Customization
One of FastAPI’s greatest strengths lies in its integration with Python type hints and Pydantic models. This lets you define input and output data structures—including validations and serialization—right at the endpoint level. In practical API development, mastering response models pays off both for self-documented code and robust, reliable interfaces. In this article, let’s dive deep…
-
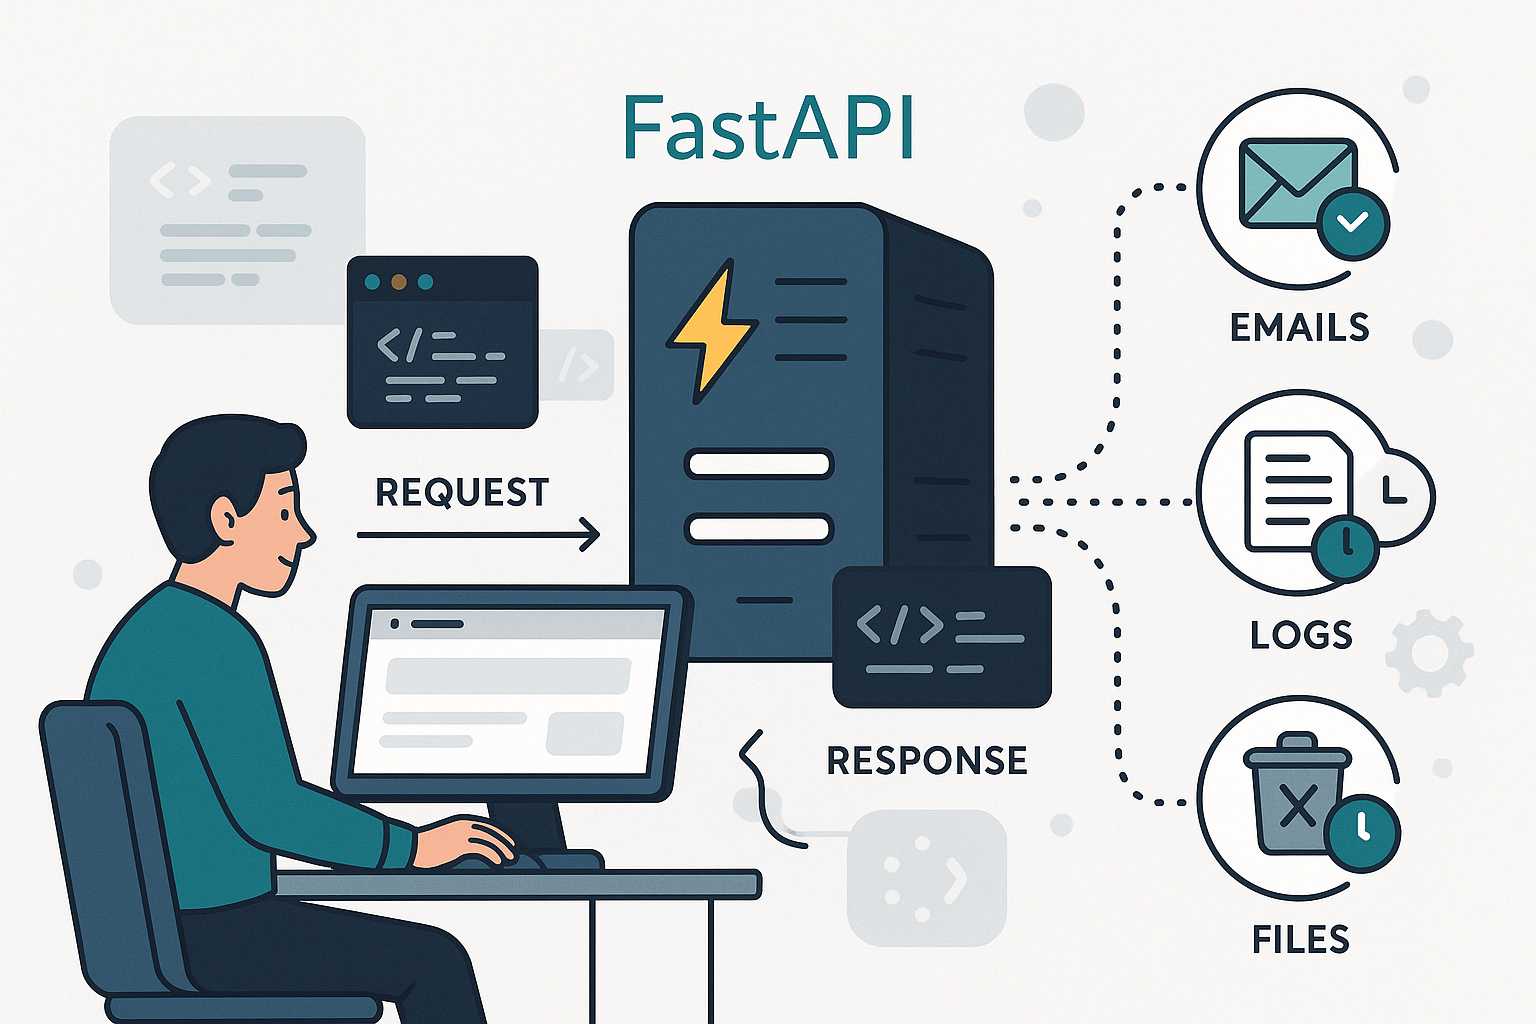
Using Background Tasks in FastAPI for Non-Blocking Operations
FastAPI makes it delightfully simple to build high-performance APIs, but one common need in modern web development is to handle background work — like sending emails, updating statistics, or triggering other time-consuming tasks — without making the user wait. In this article, I’ll walk you through FastAPI’s built-in support for background tasks, how to use…
-
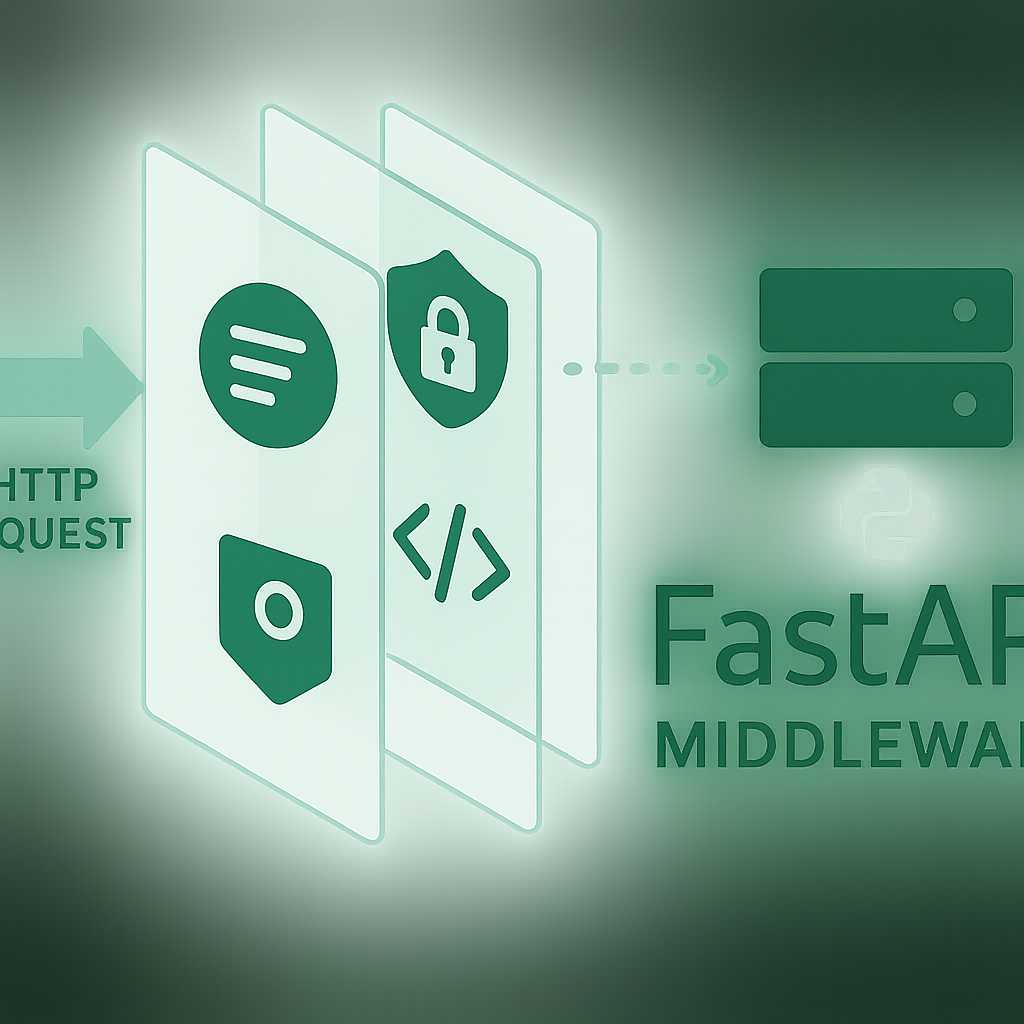
Introducing Custom Middleware in FastAPI: A Practical Walkthrough
If you’re building an API with FastAPI, eventually you’ll need to address aspects like logging, authentication, request throttling, or response manipulation—all of which often span multiple routes. Rather than cluttering your endpoints or dependencies, FastAPI middleware lets you inject logic that acts before and after every request. In this article, I’ll show you how to…
-

Testing FastAPI Dependencies: Techniques for Reliable Unit Tests
When building robust APIs with FastAPI, effective testing isn’t just about hitting endpoints; it’s about ensuring that all the components—especially dependencies—work as expected. FastAPI’s dependency injection system is incredibly powerful, but understanding how to write focused, maintainable tests for them can be a game-changer. In this article, I’ll walk through strategies for testing FastAPI dependencies—both…