
Tag: Best Practices
-

Demystifying Python’s logging Module: Effortless Logging for Every Project
If you’ve ever built a Python application and peppered it with print() statements to track what’s happening, you’re not alone. While print() can help in a pinch, Python’s standard logging module offers a far more robust, flexible, and professional approach to monitoring what your programs are up to. Whether you’re developing a quick script or…
-

Exploring Python’s Context Managers: Elegant Resource Management with `with`
As Python developers, we frequently work with resources like files, network connections, and database sessions—resources that need proper setup and teardown. Forgetting to release resources can lead to subtle bugs or even major application failures. Enter one of Python’s most elegant solutions: context managers and the with statement. What are Context Managers? A context manager…
-
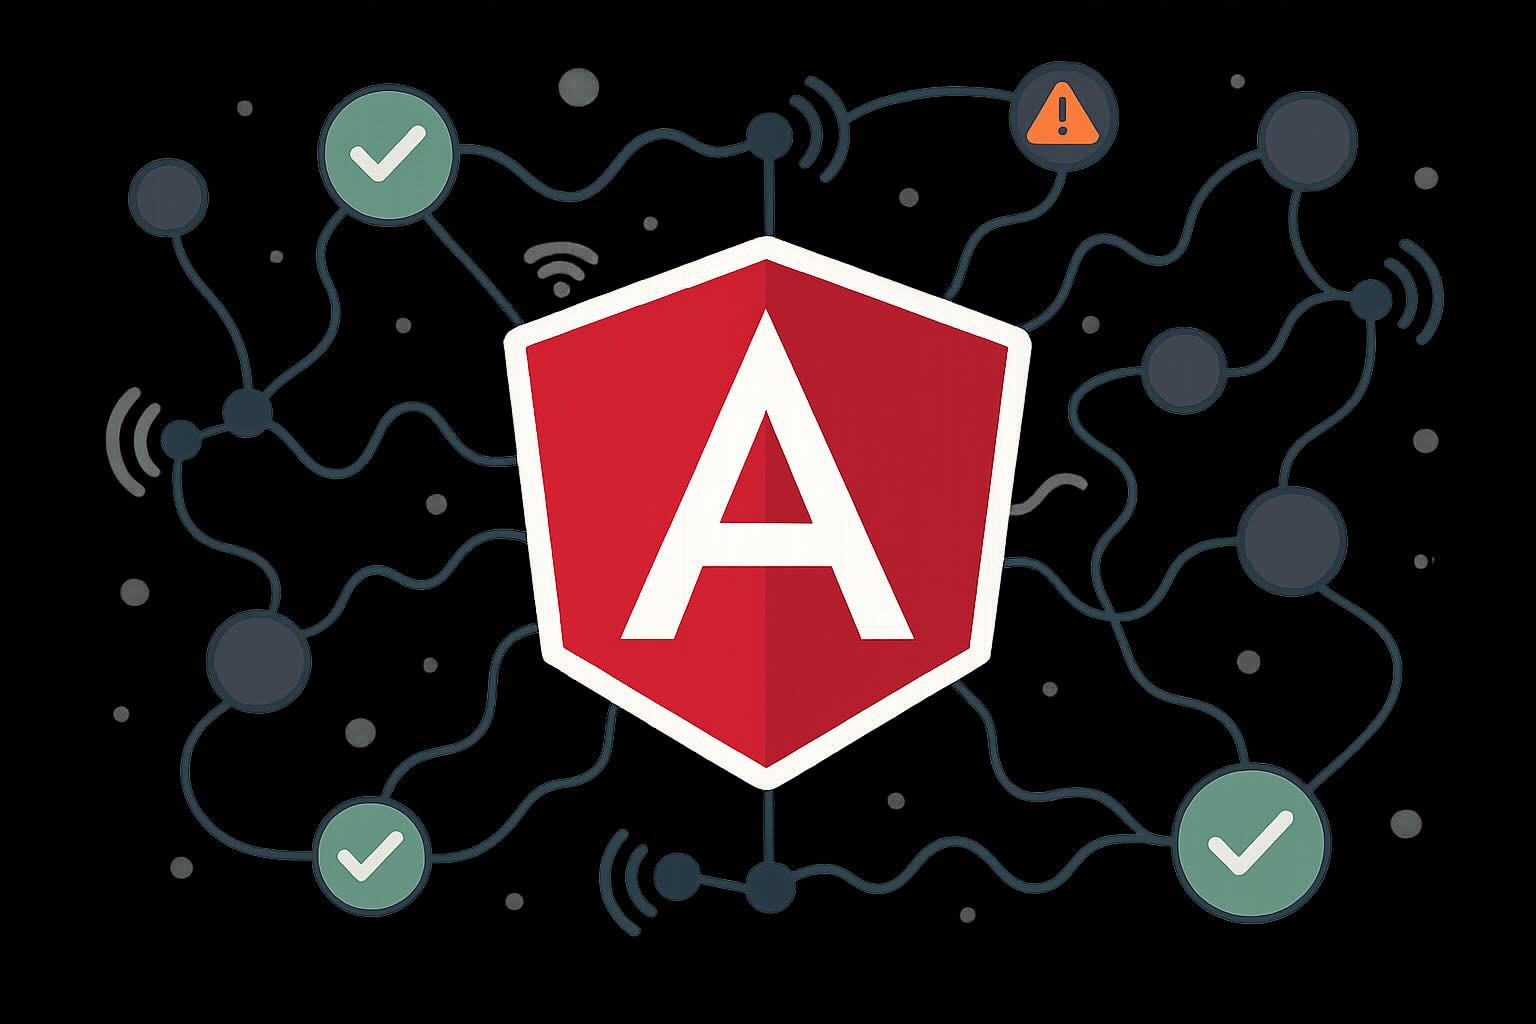
Top 5 Common Pitfalls When Using Angular Signals—and How to Avoid Them
Angular Signals are a hot topic in the Angular ecosystem, promising more granular reactive change detection and increased performance. However, as with any new pattern, integrating Signals into real-world applications comes with its own set of challenges. In this article, we’ll walk through five of the most common mistakes developers encounter when working with Angular…
-

Unlocking the Power of Python’s `concurrent.futures`: Effortless Multithreading and Multiprocessing
Python developers often face tasks that can benefit from running code in parallel—whether that’s making multiple web requests, processing large datasets, or leveraging modern multi-core CPUs. Traditionally, handling parallelism in Python meant dealing with the low-level and sometimes unwieldy threading and multiprocessing modules. Enter concurrent.futures: a high-level module that makes concurrent programming in Python simple,…
-
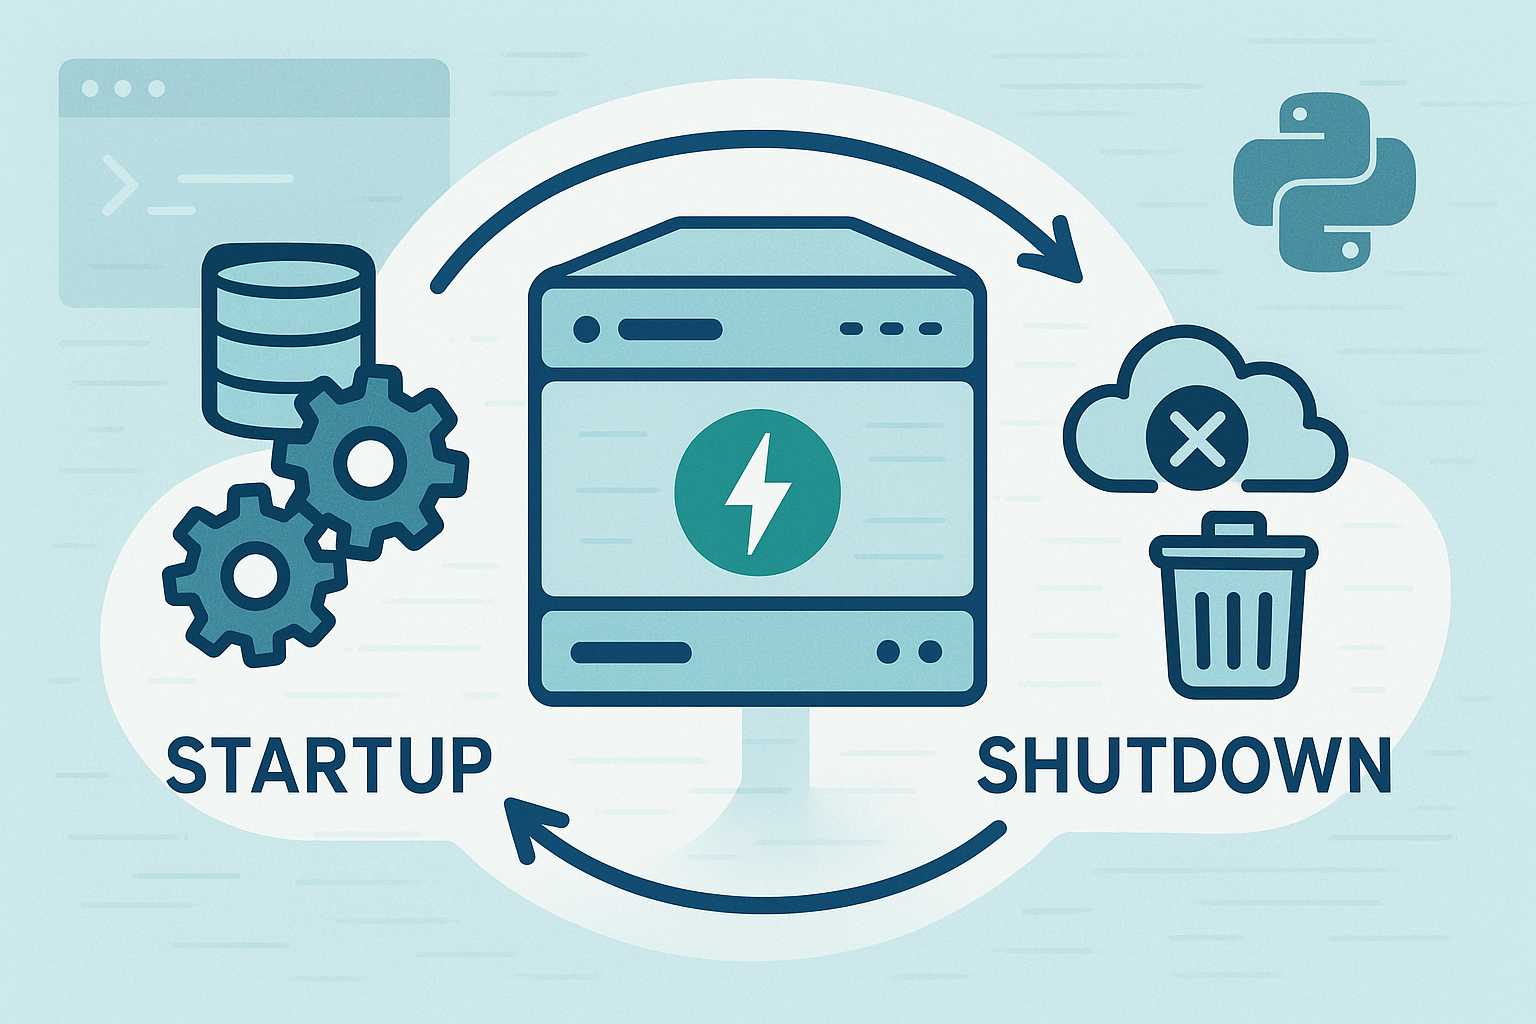
Understanding FastAPI’s Lifespan Events: Proper Initialization and Shutdown
When building robust APIs with FastAPI, it’s crucial to handle application startup and shutdown events cleanly. Whether you’re setting up a database connection, initializing background tasks, or gracefully releasing resources, FastAPI provides the lifespan interface for managing these key moments. Let’s walk through how to use lifespan events effectively, clear up some common pitfalls, and…
-
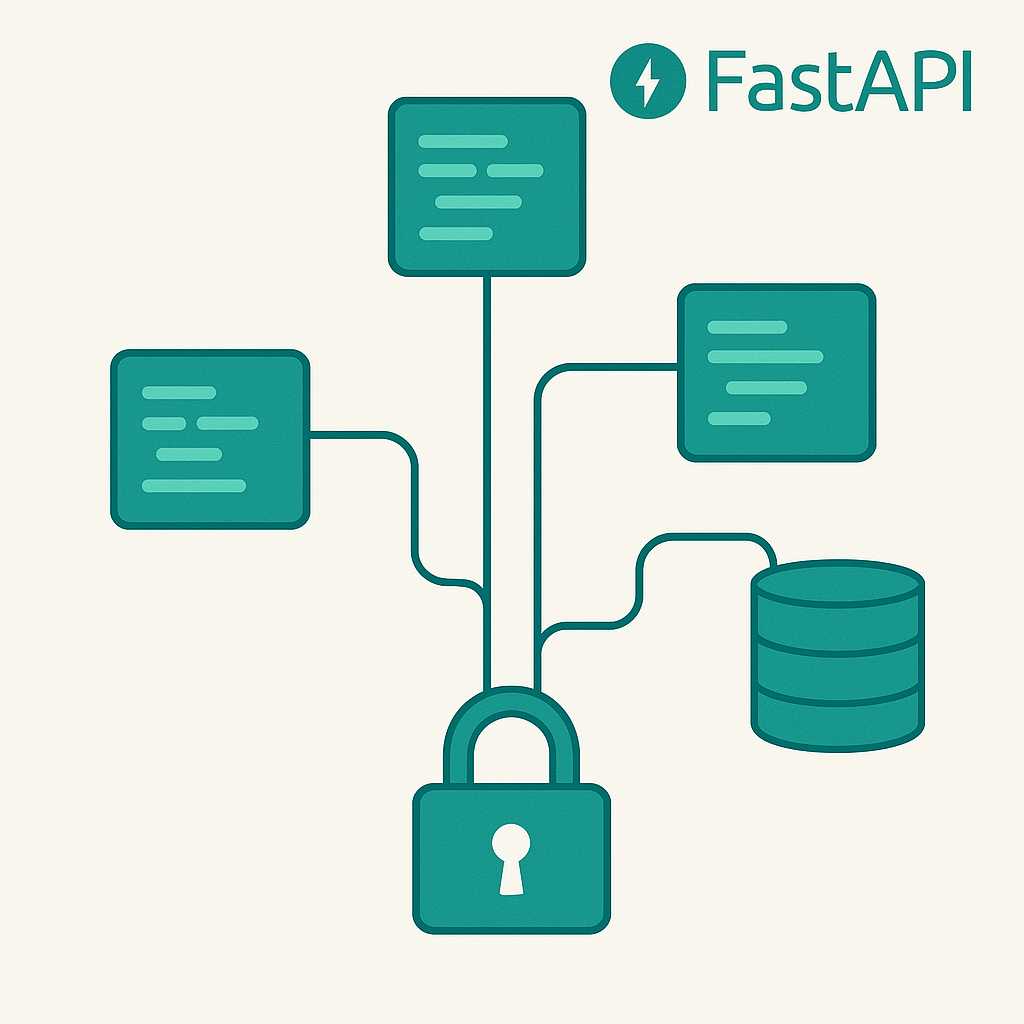
Safely Sharing FastAPI Dependencies Across Multiple Routers
FastAPI’s dependency injection system is powerful, but as your application grows and you modularize your code, it’s common to split your API into multiple routers. A question I often get is: "How can I safely share dependencies (like authentication or database access) across routers without duplicating code or causing unexpected side effects?" Let’s walk through…
-
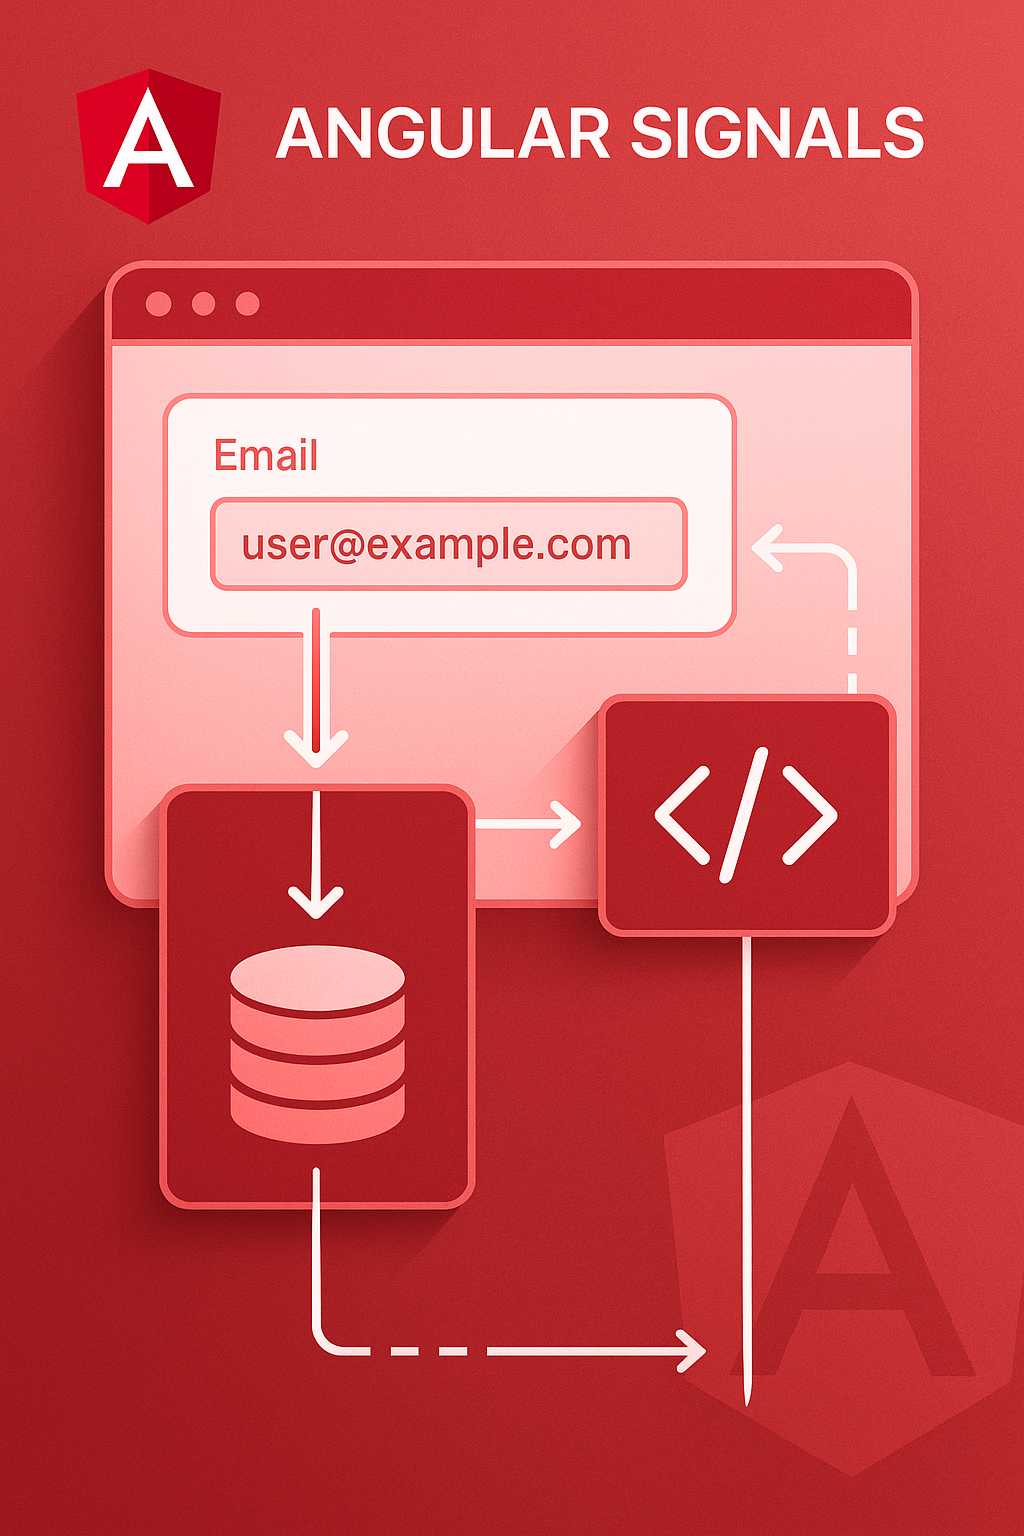
Angular Signals in Practice: Integrating Signals with Forms and Services
Angular Signals have recently emerged as a core piece of the Angular reactivity model, offering a more predictable and explicit mechanism for tracking and responding to change. While Signals are powerful on their own, developers often ask: how do you integrate them effectively with Angular’s forms and services, both of which are fundamental to most…
-
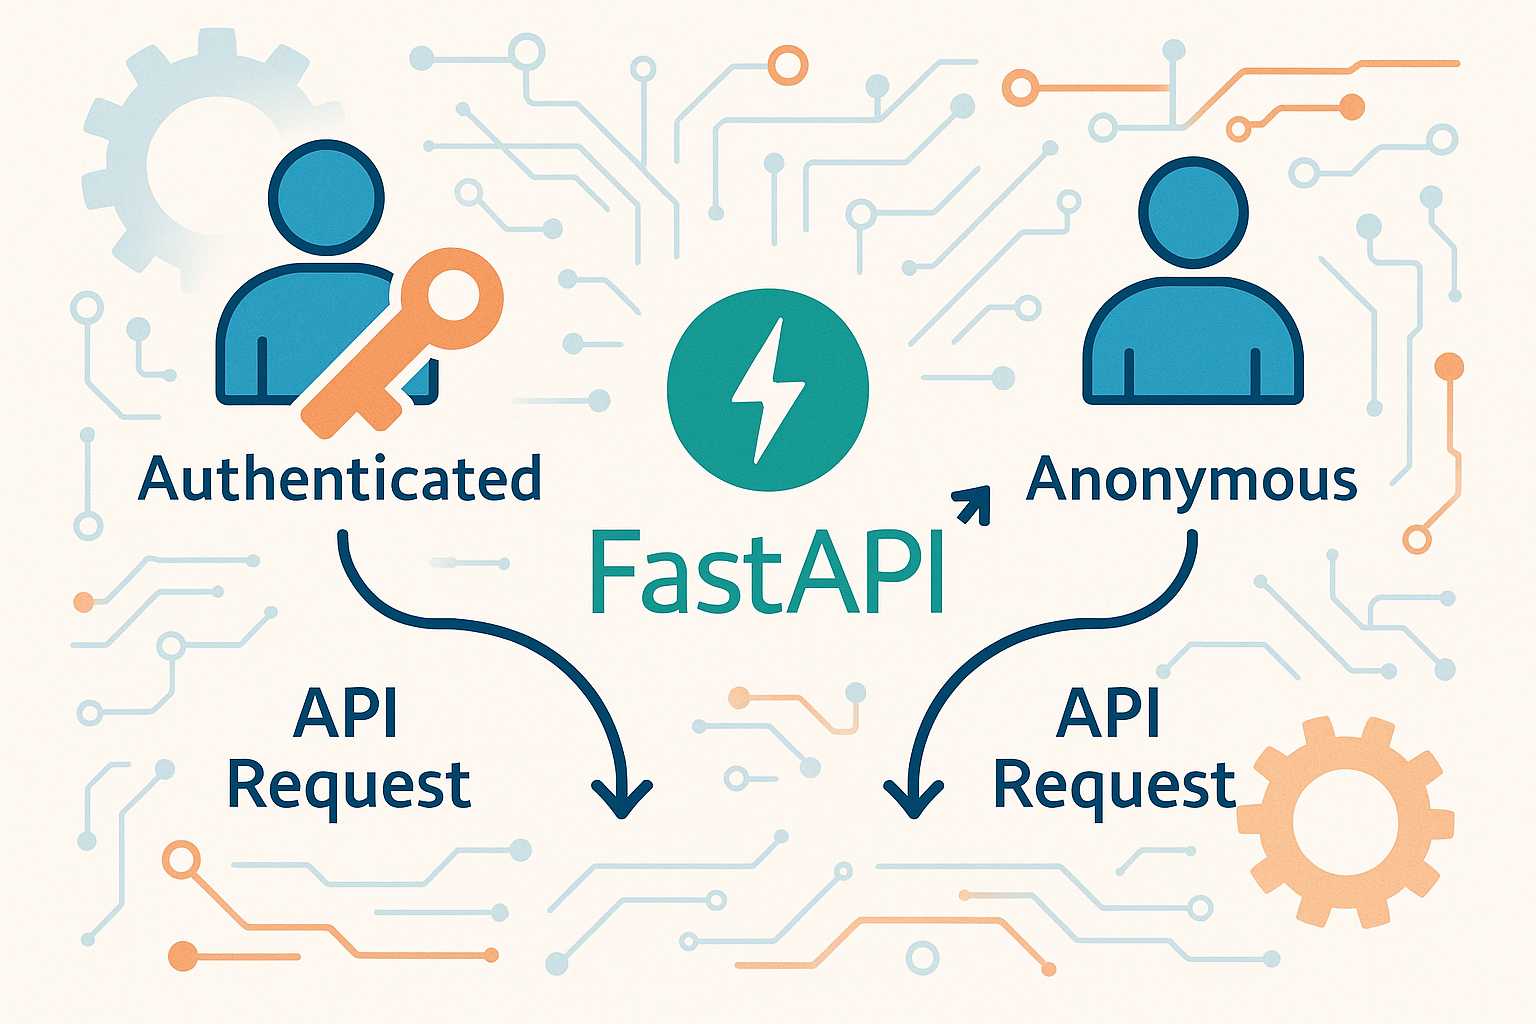
Making FastAPI Dependencies Optional: Flexible API Design Tips
FastAPI’s dependency injection system is one of its defining features, letting you elegantly manage request-scoped values, authentication, data access, and more. In many cases, dependencies are required, but sometimes you want to make them optional. Maybe your endpoint has different behavior depending on whether the client is authenticated, or perhaps you want to provide a…
-
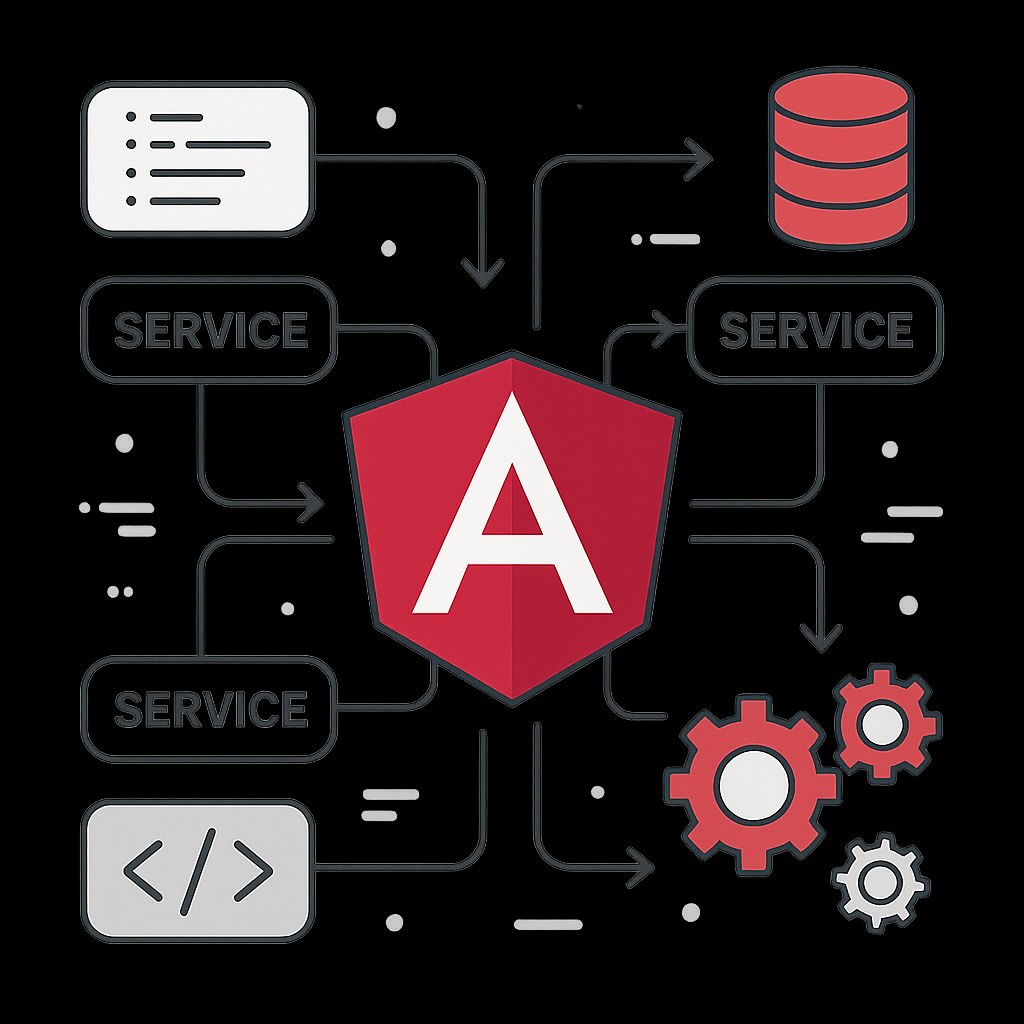
An Introduction to Angular Services: Structure, Injection, and Best Practices
Services are one of the fundamental building blocks of Angular applications. They allow you to encapsulate logic, share data and functionality across components, and keep your codebase modular and testable. In this article, I’ll discuss the essential concepts behind Angular services, cover the basics of dependency injection, and share best practices for designing your own…
-
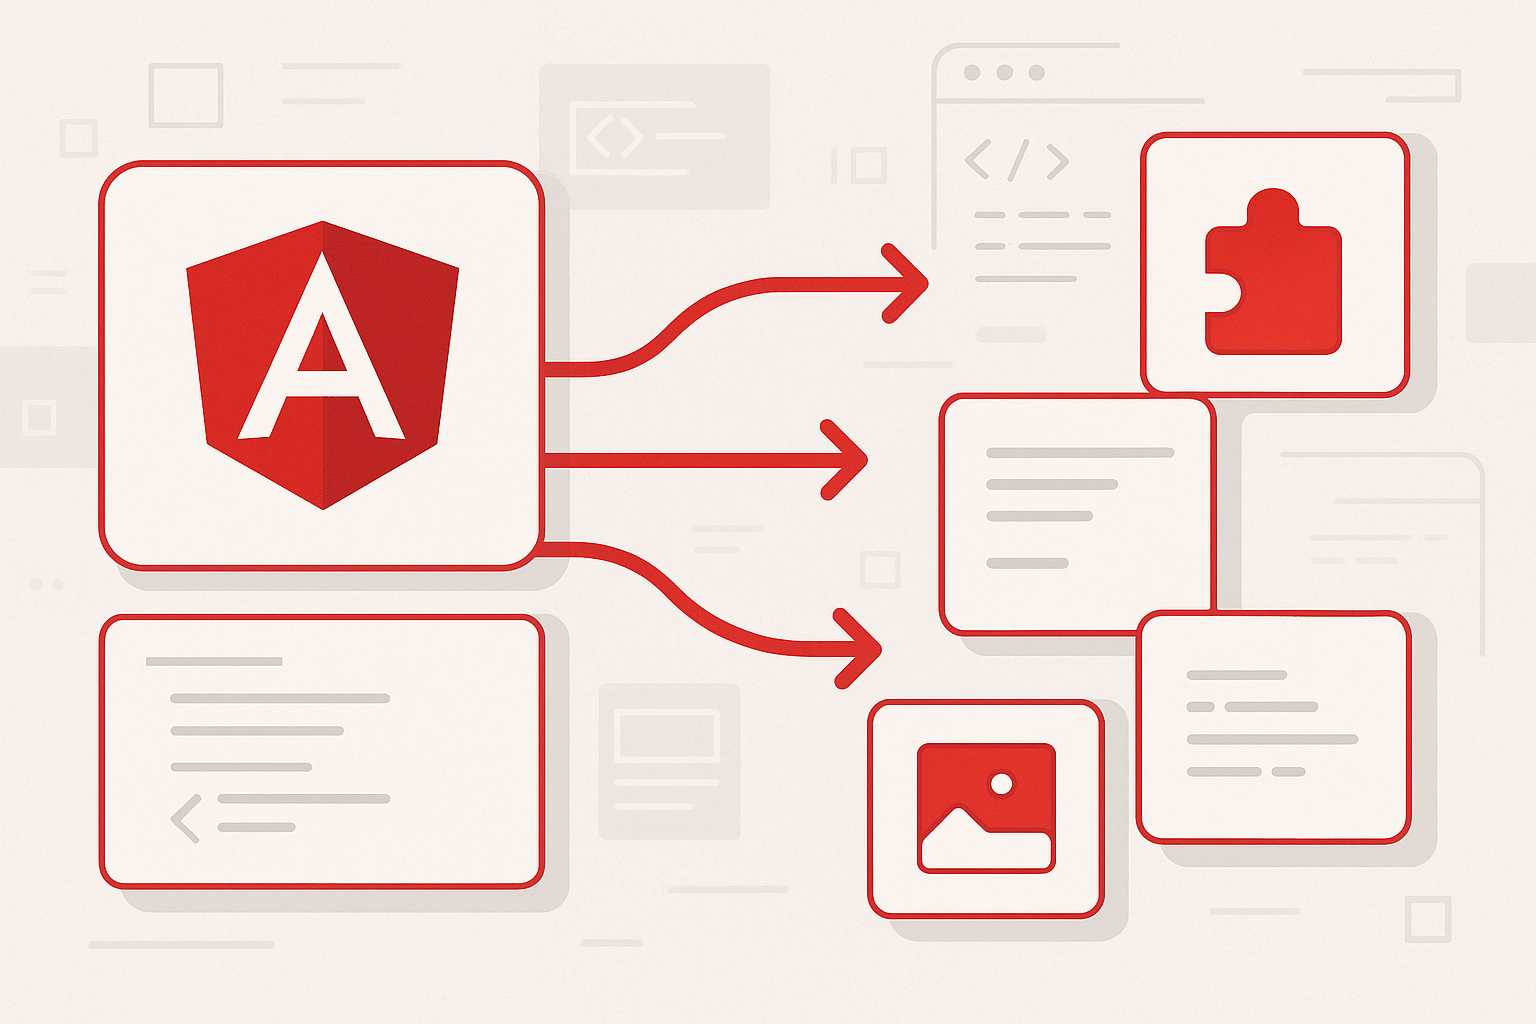
Migrating an Angular Project to Standalone Components: A Step-by-Step Guide
With Angular’s recent releases, standalone components are becoming the default way to structure applications, offering simpler, more modular architectures without the need for NgModules. If you have a legacy Angular project, migrating to standalone components can modernize your codebase and improve maintainability. In this article, I’ll guide you through the process of migrating an existing…