
Tag: Plugin Development
-
Building Custom WordPress Plugins: A Step-by-Step Beginner’s Guide
As WordPress continues to dominate the web, the demand for custom functionality grows ever stronger. Plugins are the foundation of WordPress extensibility, letting you add bespoke features to your site without touching core code. In this article, I’ll guide you through the essentials of building your own WordPress plugin — no experience necessary. Why Build…
-
Understanding WordPress Transients: Caching for Performance and Scalability
Caching is the secret weapon behind high-performing WordPress sites. As a web developer and WordPress expert, I’ve seen countless projects dramatically improve simply by taking advantage of caching—both at the server and application levels. One often underutilized tool built right into WordPress core is the Transients API. In this article, we’ll demystify transients, explore when…
-
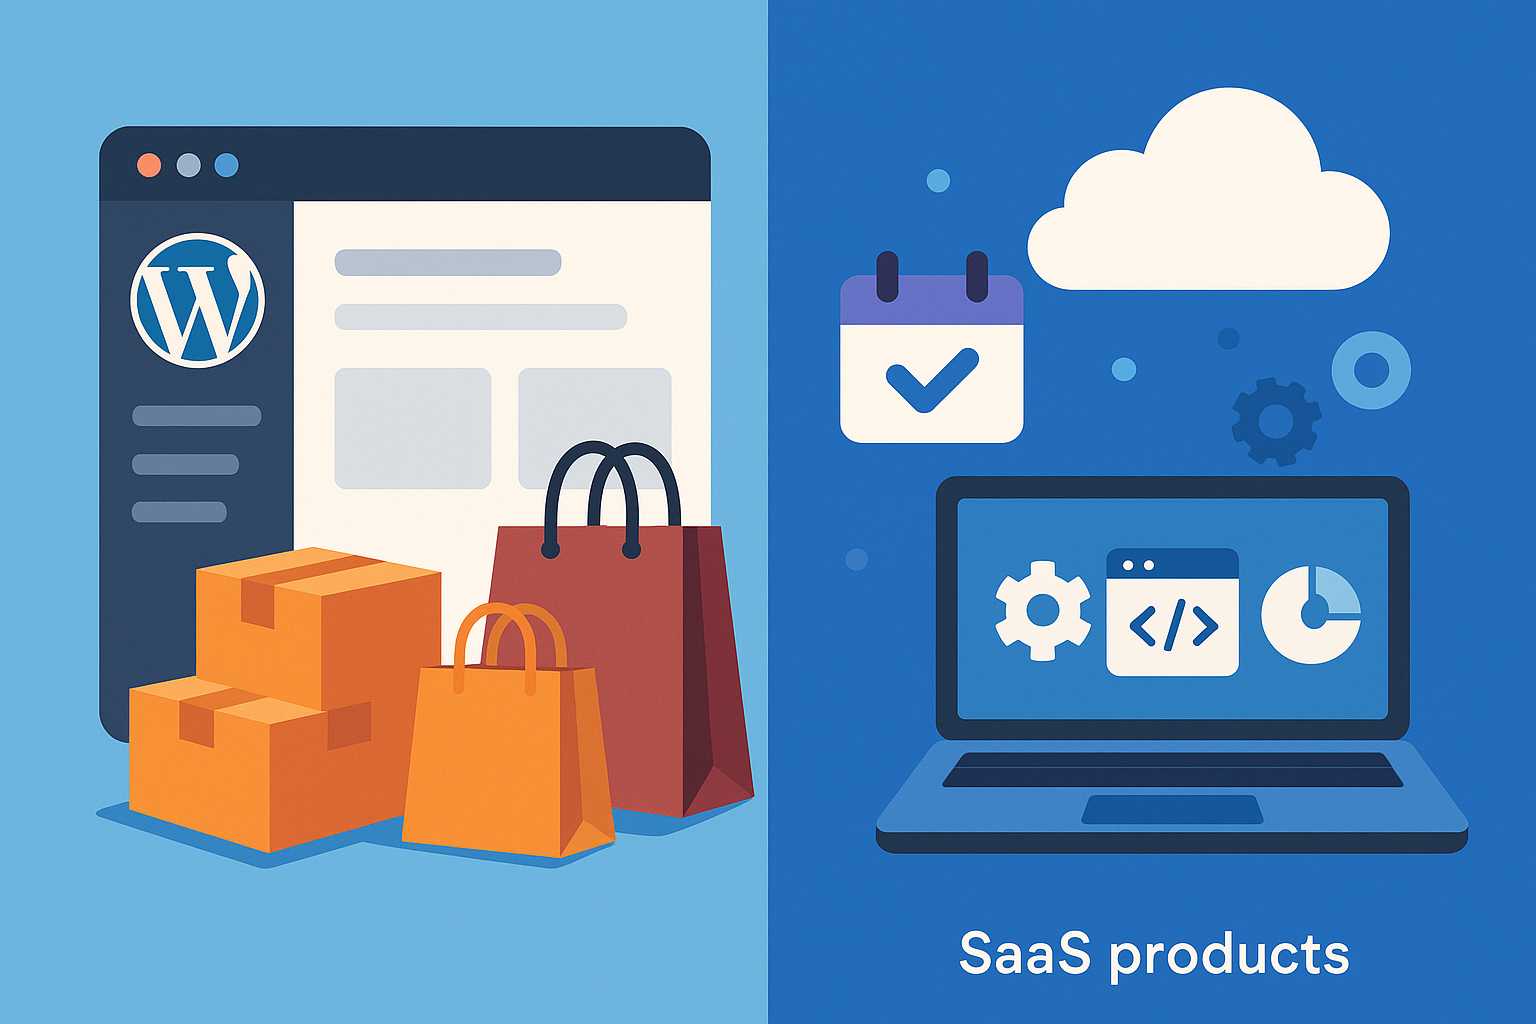
E-Commerce in WordPress: Selling Physical Goods and SaaS Products
WordPress is no longer just a platform for bloggers; it has evolved into a powerful tool for building fully functional e-commerce sites. Whether you want to sell shippable merchandise or digital SaaS products, WordPress provides the flexibility and extensibility to meet your needs. Selling Shippable Merchandise The most common scenario for e-commerce is selling physical…
-
Integrating Automation in WordPress: A Guide to Action Scheduler
As WordPress grows from a simple blogging tool to a robust content management system powering dynamic sites, automation has become essential for developers aiming to optimize workflows and site interactivity. In this article, I’ll explore Action Scheduler—WordPress’s answer to reliable background processing—and show you how to leverage it for common automation tasks. What is Action…
-
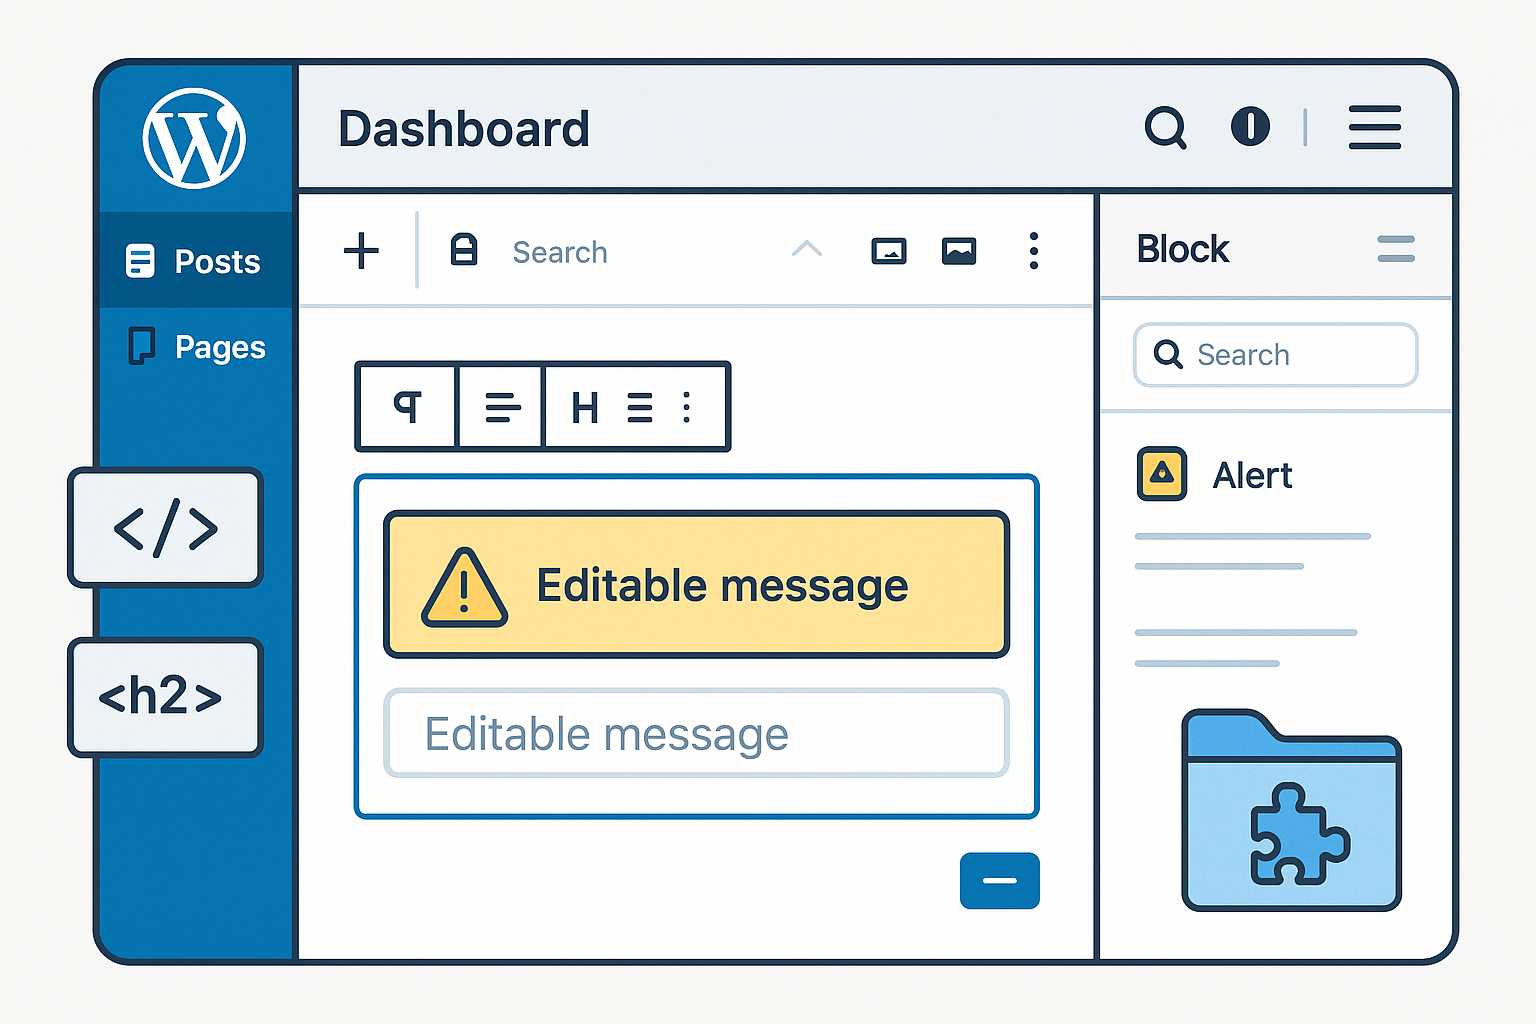
Building Custom Gutenberg Blocks: Elevate Your WordPress Editing Experience
Gutenberg, the block editor introduced to WordPress in version 5.0, fundamentally transformed how users create and manage content. While the default set of blocks covers most needs, there comes a point in every developer’s journey where custom blocks are essential for delivering unique functionality and on-brand designs. In this article, I’ll walk you through the…
-
Networking WordPress Sites: A Comprehensive Guide to Multisite Configuration
In the dynamic world of WordPress development, the ability to efficiently manage multiple sites from a single dashboard is invaluable. This is where the WordPress Multisite feature comes into play. Networking WordPress sites together can bring numerous benefits, from streamlined administration to shared access to themes and plugins. In this article, we’ll delve into the…
-

Mastering WordPress Plugin Development for Custom Functionality
WordPress, a versatile and fully customizable content management system, powers a significant portion of the world’s websites. However, as your website grows and your needs become more specific, you might find that the built-in features of WordPress are not enough. This is where plugins come in. As a web developer and WordPress expert, I have…