
Tag: Python Libraries
-

Demystifying Python’s logging Module: Effortless Logging for Every Project
If you’ve ever built a Python application and peppered it with print() statements to track what’s happening, you’re not alone. While print() can help in a pinch, Python’s standard logging module offers a far more robust, flexible, and professional approach to monitoring what your programs are up to. Whether you’re developing a quick script or…
-
Exploring Python’s Context Managers: Elegant Resource Management with `with`
As Python developers, we frequently work with resources like files, network connections, and database sessions—resources that need proper setup and teardown. Forgetting to release resources can lead to subtle bugs or even major application failures. Enter one of Python’s most elegant solutions: context managers and the with statement. What are Context Managers? A context manager…
-

Unlocking the Power of Python’s `concurrent.futures`: Effortless Multithreading and Multiprocessing
Python developers often face tasks that can benefit from running code in parallel—whether that’s making multiple web requests, processing large datasets, or leveraging modern multi-core CPUs. Traditionally, handling parallelism in Python meant dealing with the low-level and sometimes unwieldy threading and multiprocessing modules. Enter concurrent.futures: a high-level module that makes concurrent programming in Python simple,…
-
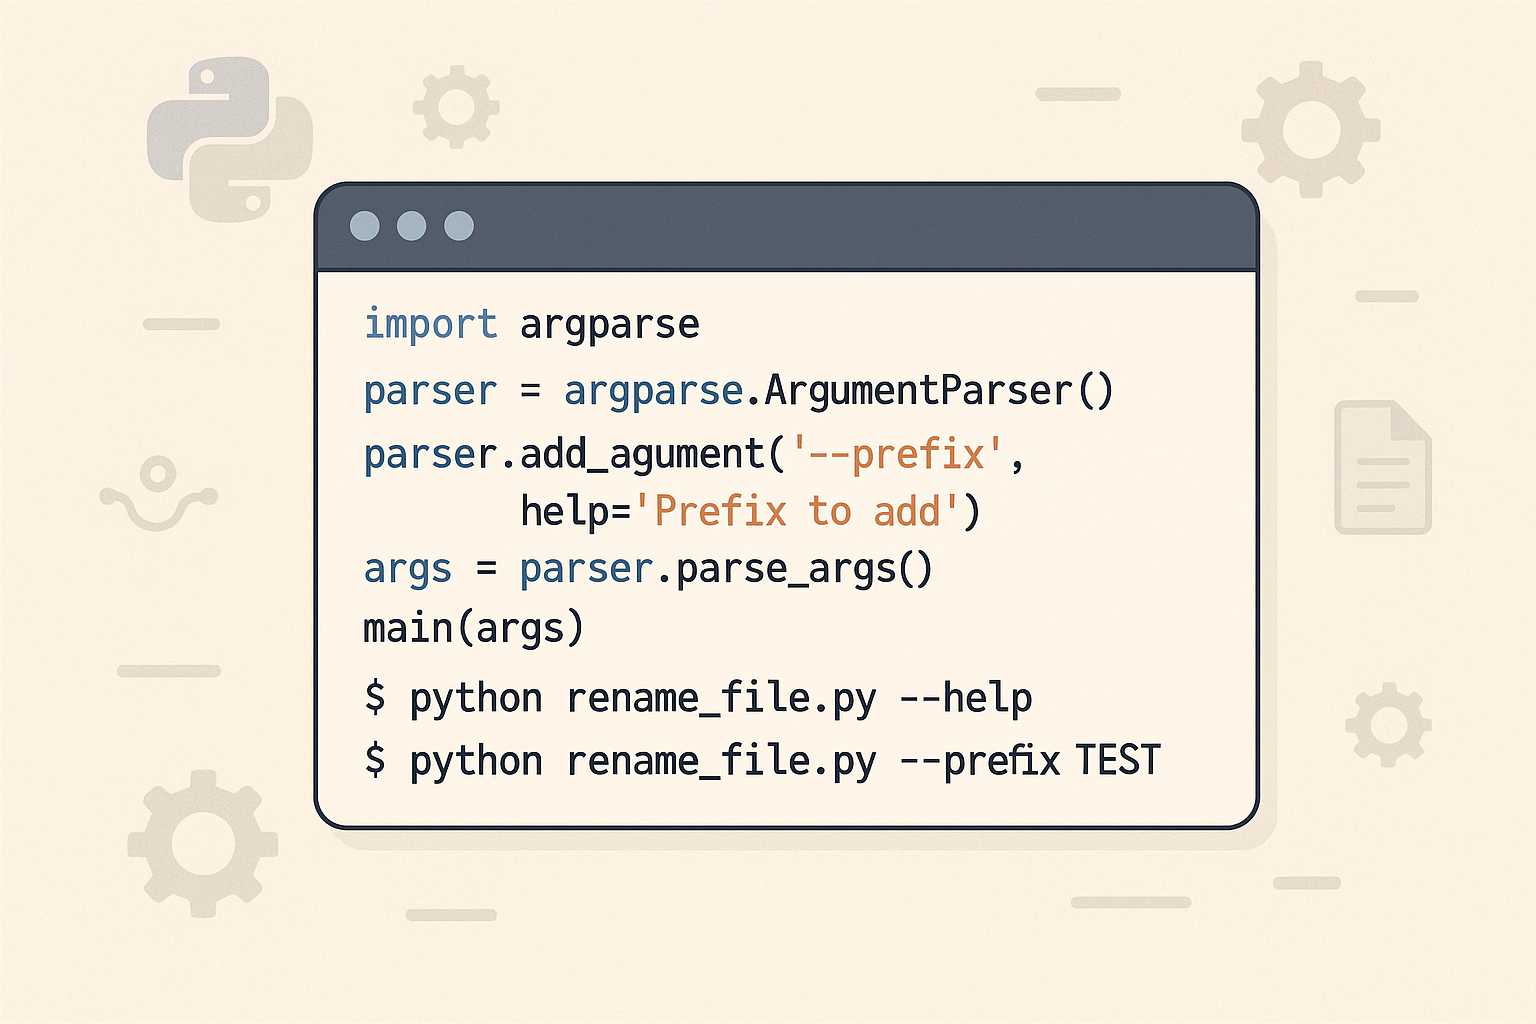
Level Up Your Command Line: Creating Custom Python Scripts with argparse
If you’ve ever found yourself running repetitive tasks in the terminal or wanted more control over how you launch Python scripts, it’s time to meet a powerful ally: the argparse module. This standard library tool unlocks the ability to build rich, user-friendly command-line interfaces (CLIs) for your Python projects—no external dependencies required! Why argparse? While…
-
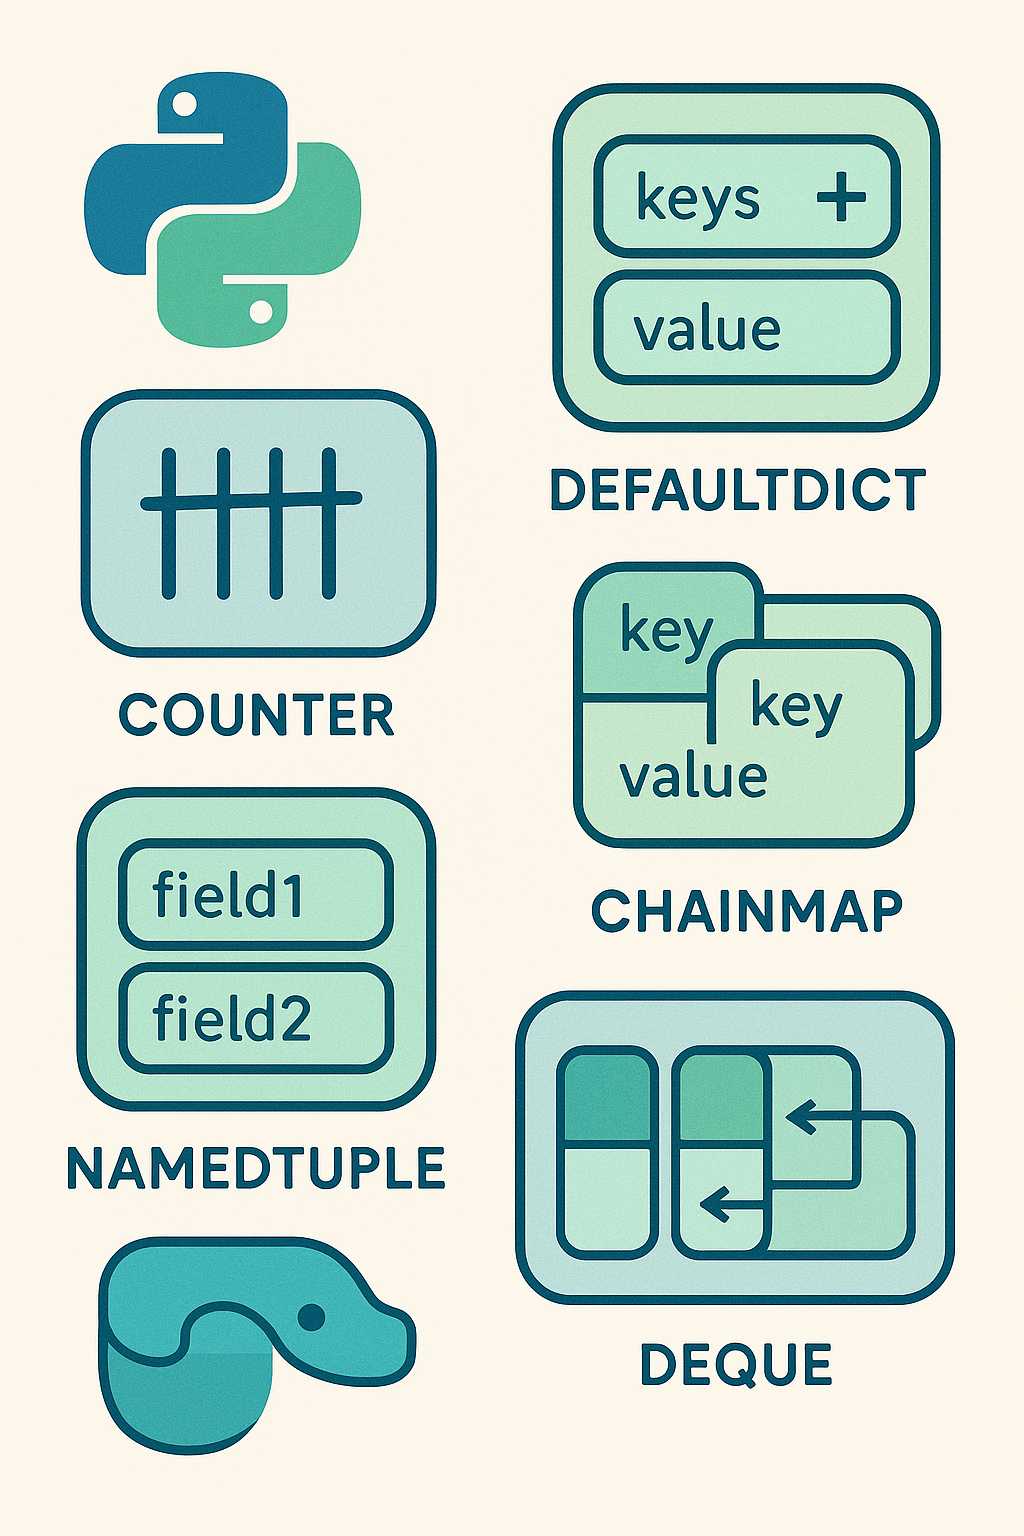
Exploring Python’s `collections` Module: Data Structures Made Simple
When it comes to data structures, Python provides a lot more than just lists, dictionaries, and sets. Hidden in plain sight is the powerful collections module—a standard library gem that offers high-performance alternatives and useful utilities for common data structures. Whether you’re managing counters, queues, or complex mappings, collections can make your code more readable…
-
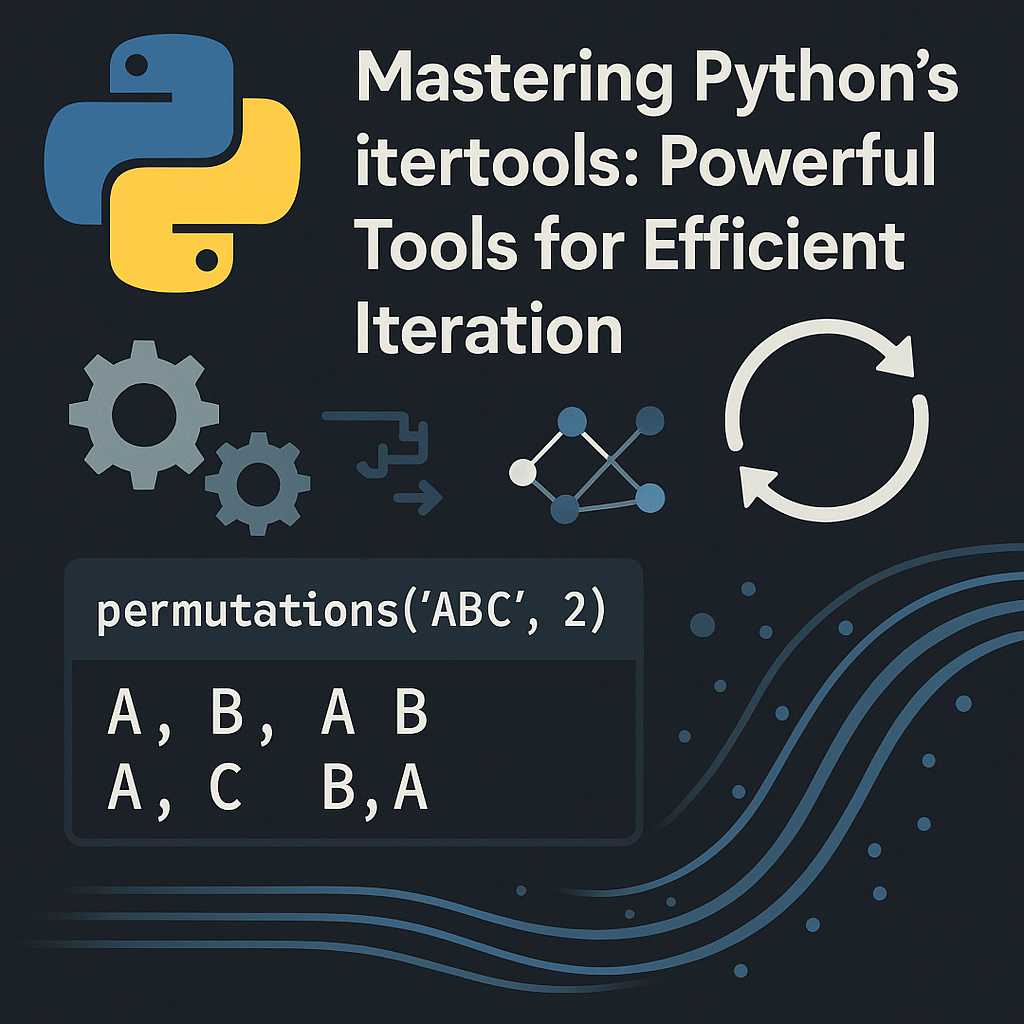
Mastering Python’s `itertools`: Powerful Tools for Efficient Iteration
Python’s standard library is filled with gems, and the itertools module is one of the brightest. If you’ve ever faced a task involving complex iteration, combinatorial logic, or data stream manipulation, chances are itertools has a performant, elegant solution waiting for you. In this article, I’ll introduce you to this indispensable module with practical examples…
-
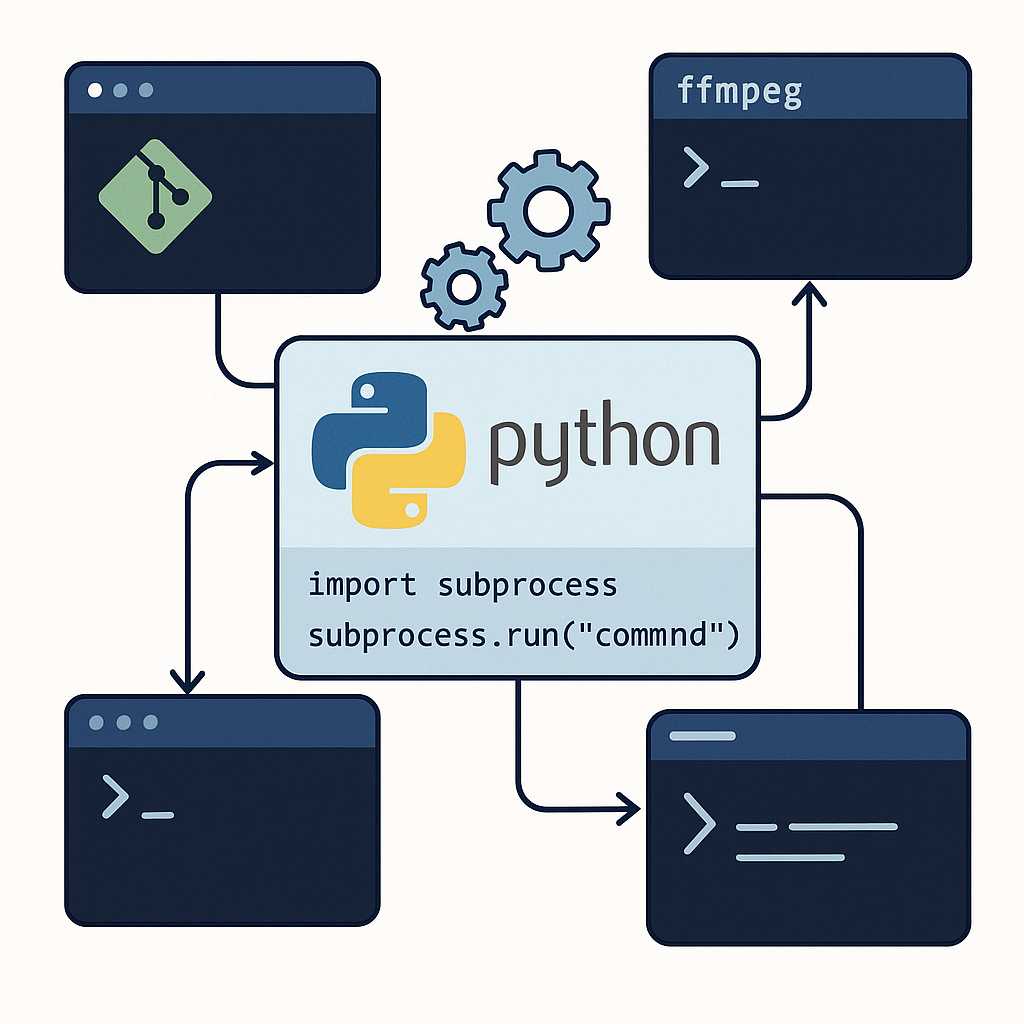
Automate Your Workflow with Python’s `subprocess` Module
As Python programmers, we’re always looking for ways to seamlessly automate repetitive tasks and glue disparate tools together. The subprocess module is one of Python’s most powerful—but often underappreciated—tools for bridging the gap between your Python scripts and the rest of your system. In this article, I’ll walk you through using the subprocess module to…
-
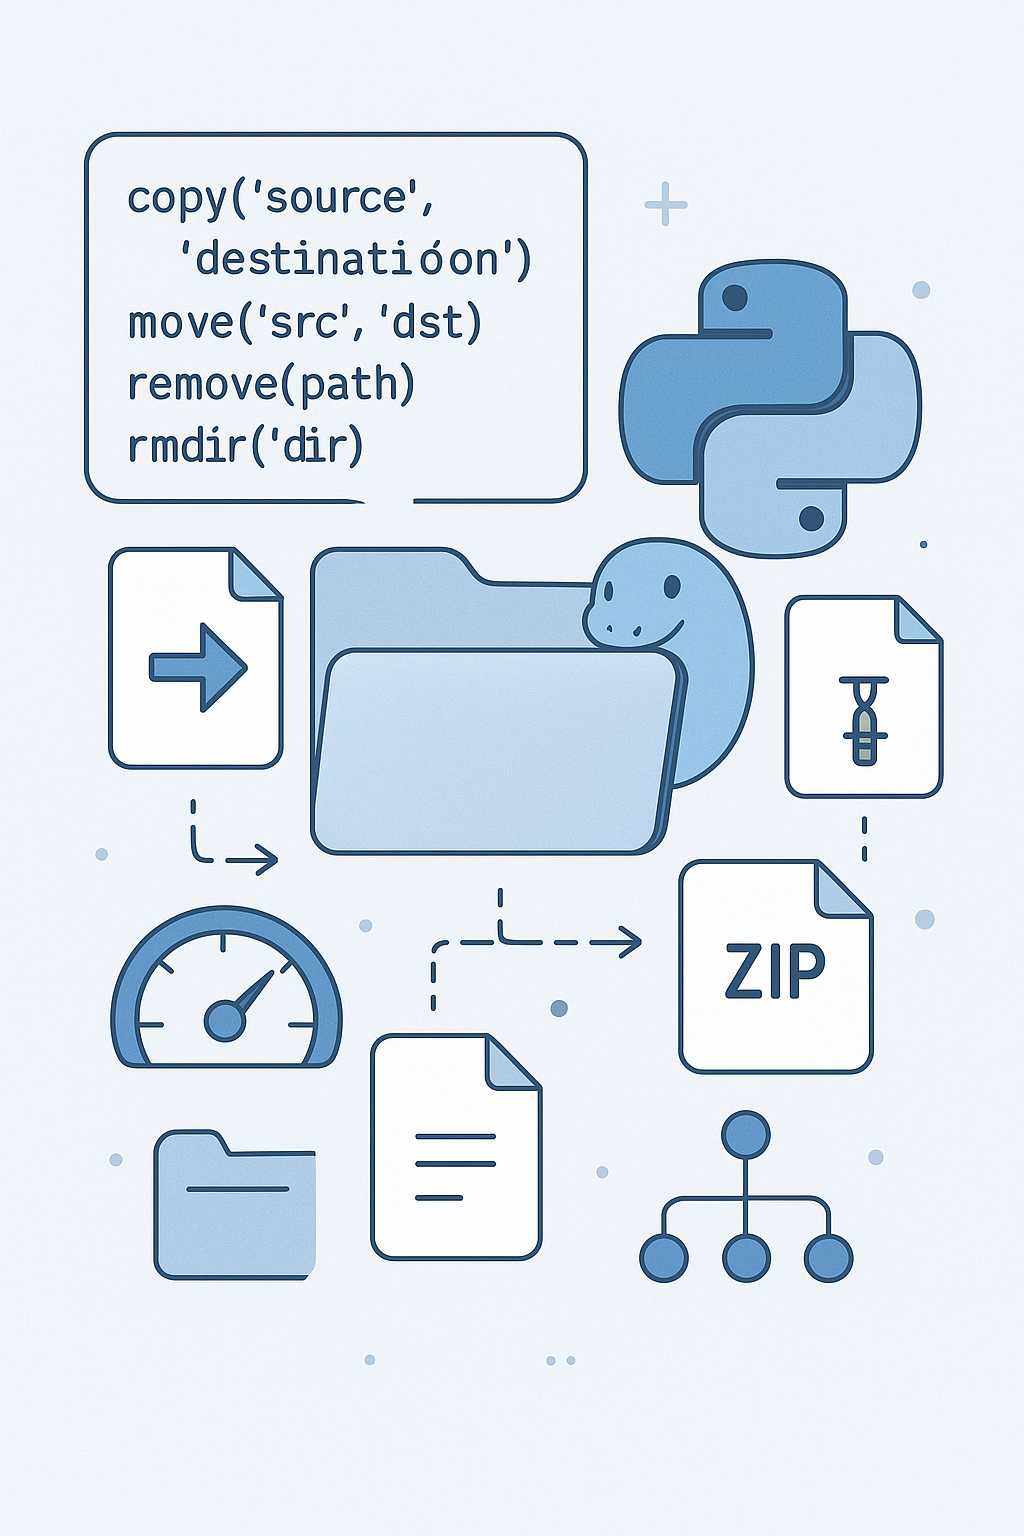
Boosting Productivity with Python’s ‘shutil’ Module: Effortless File Operations
When working with files and directories in Python, you may have welcomed the ease of using os and pathlib for basic file system manipulations. But what if you need to copy, move, or delete entire directories, or manage file archives with just a few lines of code? This is where Python’s shutil module shines. In…
-
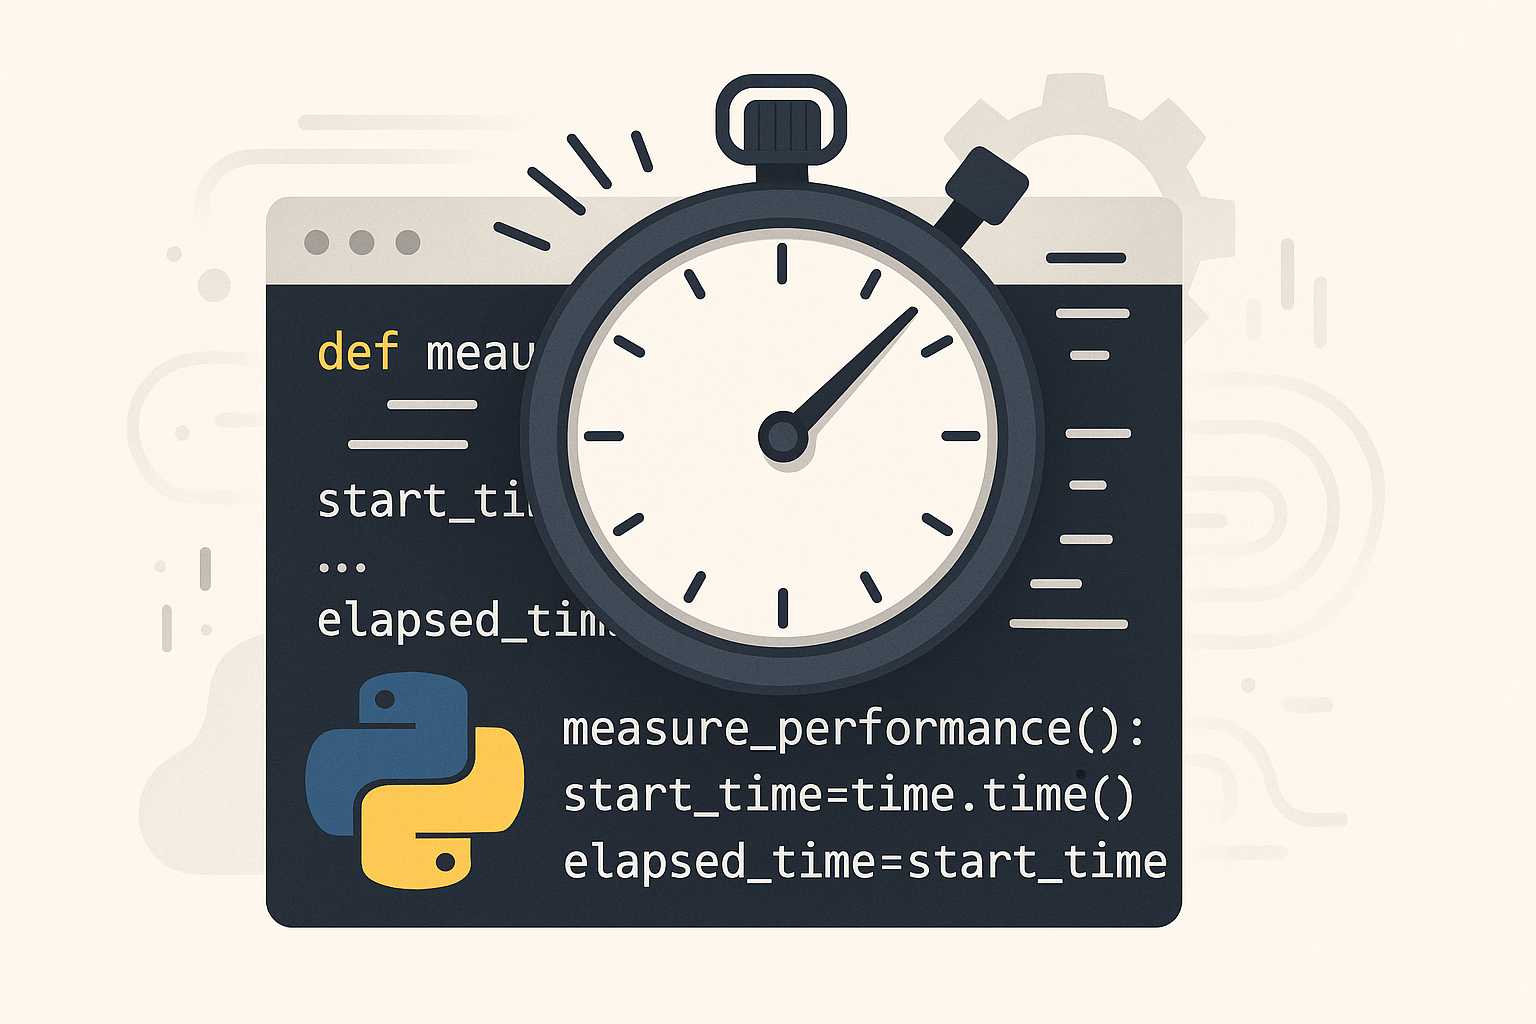
Effortless Timing in Python: Measuring Code Performance with the ‘timeit’ Module
As Python developers, we often find ourselves concerned with performance. Whether we’re optimizing a critical algorithm or simply curious about the speed differences between alternative implementations, having an accurate and reliable method to measure code execution time is essential. Enter the timeit module—a simple yet powerful tool in the Python Standard Library designed for precisely…
-
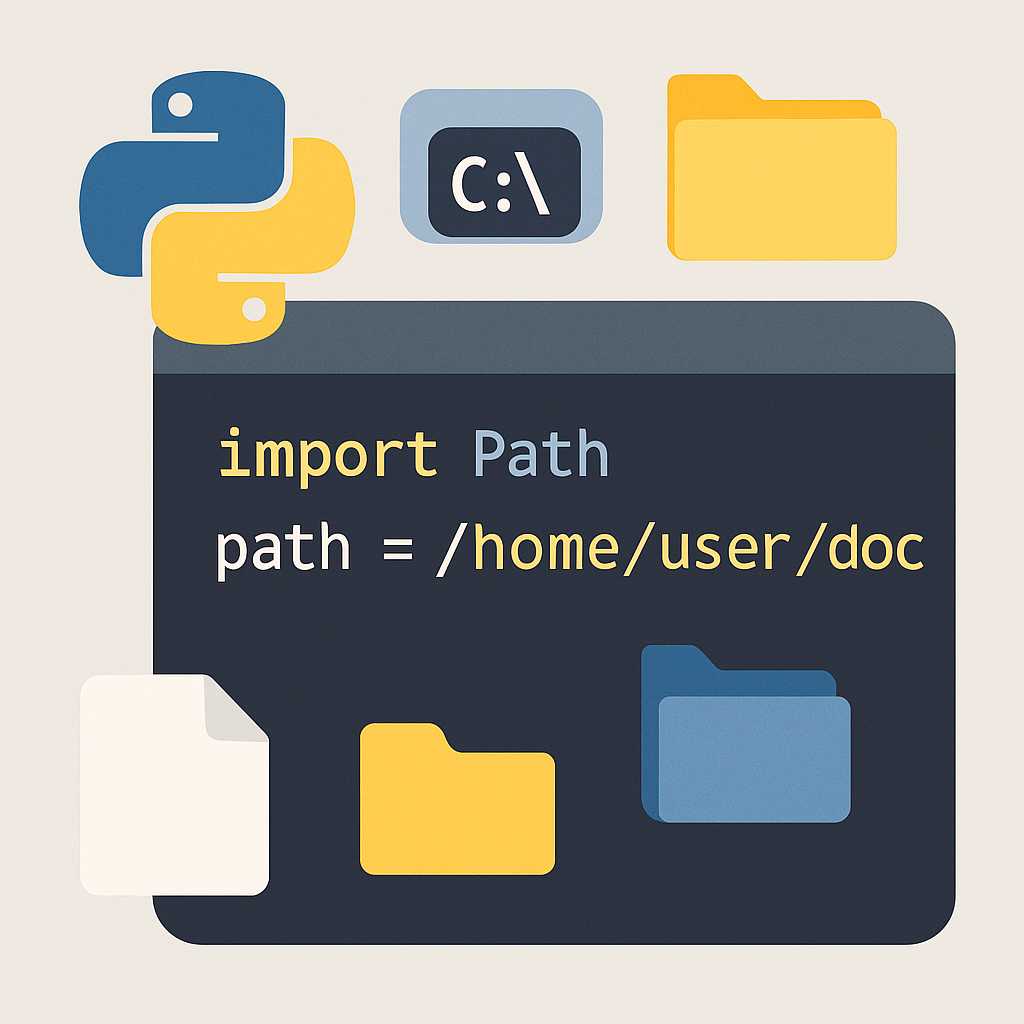
Python’s pathlib: Modern File System Paths Made Easy
Interacting with the file system is a common—and often frustrating—part of programming. If you’ve spent time with Python, you probably remember the days of wrestling with os.path, string concatenation, and subtle cross-platform bugs. Thankfully, since Python 3.4, we’ve had a much more elegant alternative: the pathlib module. Let’s dive into how pathlib streamlines file and…