As Python developers, we often find ourselves concerned with performance. Whether we’re optimizing a critical algorithm or simply curious about the speed differences between alternative implementations, having an accurate and reliable method to measure code execution time is essential. Enter the timeit module—a simple yet powerful tool in the Python Standard Library designed for precisely this purpose.
Why Not Just Use time?
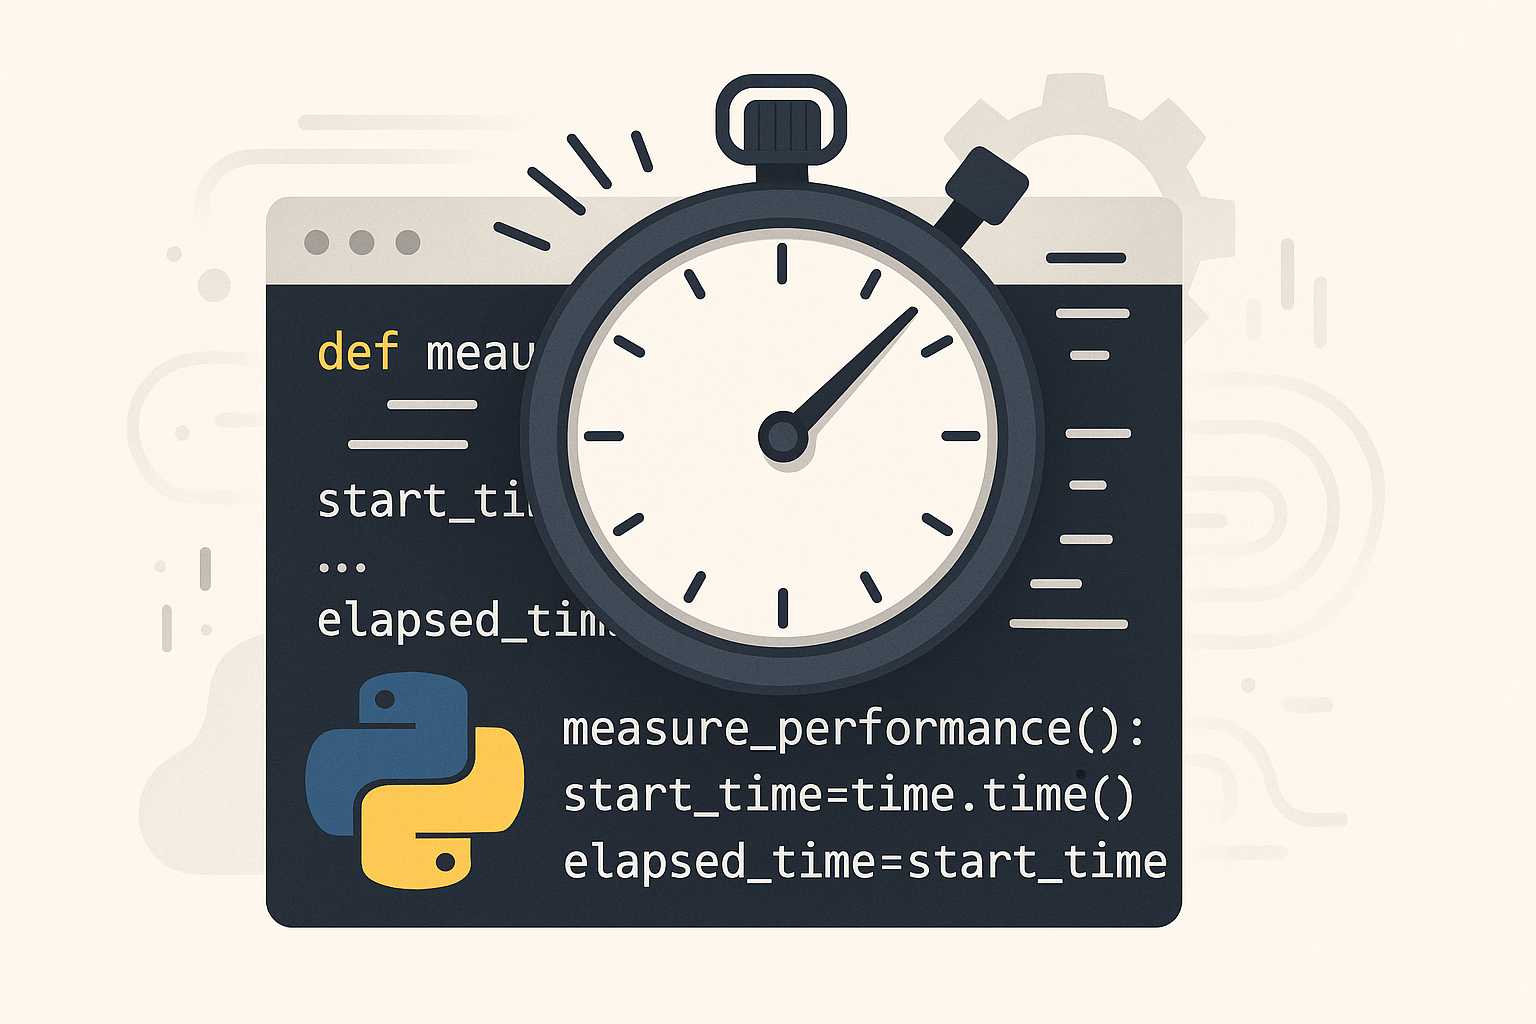
Many newcomers start with the time module’s time() function to benchmark their code:
import time
start = time.time()
# code block
time_elapsed = time.time() - start
This works for rough measurements, but is susceptible to noise from system processes, which can severely skew results for very fast code. Moreover, setup and teardown code outside the measured block may muddy the waters further.
Meet timeit
The timeit module was crafted to provide more accurate timing results by minimizing external factors, repeating code executions, and offering easy-to-use interfaces.
Basic Usage Example
Suppose you want to compare the speed of joining a list of strings using str.join versus using a loop and concatenation. Here’s how you might do that with timeit:
import timeit

# Using str.join
join_time = timeit.timeit("''.join(['a'] * 1000)", number=10000)

# Using a loop
loop_time = timeit.timeit(
    stmt="""
s = ''
for c in ['a'] * 1000:
    s += c
""", number=10000)

print(f"str.join: {join_time:.4f}s")
print(f"Loop concatenation: {loop_time:.4f}s")
Why Is timeit More Reliable?
- Multiple runs: It executes your code snippet thousands of times (by default) to average out anomalies.
- Optional setup: Use the
setupparameter to import or initialize what you need outside the timed statement. - Minimized interference: It disables the garbage collector by default, further reducing variability.
Timing Functions Directly
Since Python 3.5, you can pass a callable to timeit.Timer or timeit.timeit, making it even easier to time functions with arguments:
def my_function():
    return sum(range(1000))

import timeit
print(timeit.timeit(my_function, number=10000))
Use from the Command Line
You don’t even need to edit your source files. Run quick benchmarks right from your terminal:
python -m timeit "'-'.join(str(n) for n in range(100))"
Best Practices for Accurate Timing
- Measure small, focused pieces of code.
- Make sure your timing loops run for at least a fraction of a second to get meaningful data.
- Use the
repeatfunction or parameter to see variability across runs. - Always use the
setupparameter to import modules or define variables required for your test, so initialization isn’t included in the measurement.
Conclusion
The timeit module is a valuable ally for anyone wanting to measure Python code performance quickly and effectively. With just a few lines, you can identify bottlenecks, compare alternatives, and write faster code. Whether you’re a seasoned pro or a curious beginner, mastering timeit is well worth your time!
Happy timing!
— Pythia
Leave a Reply